Industrial garment rack installation: site preparation checklist
I've walked into more retail back rooms and warehouse corners than I care to count, and I can tell you within about ten seconds whether somebody bothered with site prep.
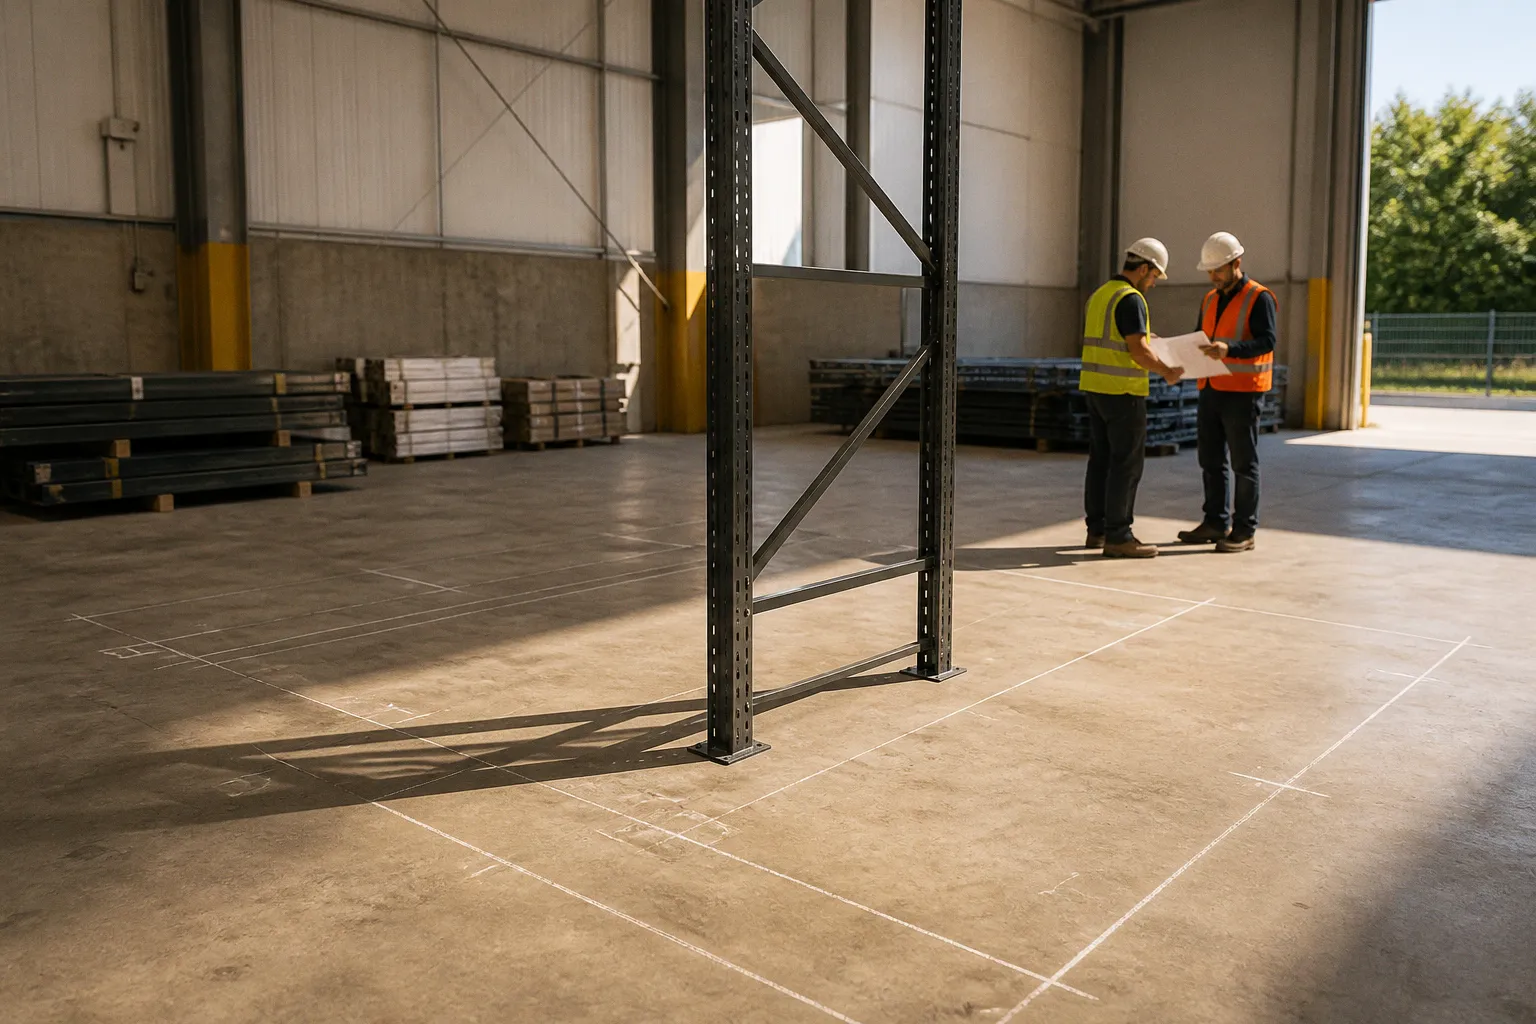
The clues are loud: a base plate shimmed with a folded piece of cardboard, uprights leaning a few degrees off plumb, an anchor missing from one leg because the installer "ran out." I've also seen the consequences — racks tipped onto a stocker, a load capacity sign that was never posted, a fire inspector walking a facility off the floor. Industrial garment rack installation is not glamorous work, but the requirements are non-negotiable. Your floor, your alignment, your anchors, and your clearances either hold the line or they don't.
This is the checklist I run through with every client before a single pipe fitting gets crated up. Skip a step, and the rack will eventually tell you about it — usually at the worst possible time.
Floor Integrity Is Not a Vibe — Verify the Slab
Before you order a single fitting, you need to know what's under your feet. The slab is the foundation of the entire system, and most site prep failures trace back to somebody assuming the floor could handle the load without actually checking.
For static, heavy-duty garment storage, you need three pieces of information about your concrete: slab thickness, approximate age and condition, and what's directly beneath it. If your facility came with engineered drawings or a structural report, pull them. If not, your building engineer or a qualified testing service can evaluate what's there. I won't throw out a specific compressive strength number here because there isn't a single universal threshold — it depends on rack type, layout, anchor depth, and the point loads involved. Anyone telling you a specific psi figure without looking at your building is guessing, and a guess becomes a repair bill.
Two things to physically inspect before any layout is finalized:
- Cracks and joints. Hairline shrinkage cracks are usually cosmetic. Wider cracks, especially those running across expansion joints or near column lines, are red flags. A crack that's been patched and re-cracked is telling you the slab moves under load, and your anchor plan needs to account for that.
- Moisture and coatings. Old sealers, tile, or vinyl flooring over the slab changes your anchor strategy. You cannot drive a wedge anchor through half an inch of ceramic tile and expect it to bite the way you need it to. Either remove the coating at anchor points or plan for through-bolt solutions.
A garment rack rated for 800 pounds means nothing if your slab is the weak link in that chain.
Measure Your Footprint and Your Verticality Before You Measure Anything Else
Depth, height, and ceiling clearance are the three numbers that decide whether a layout works on paper or fails in steel. I keep a mental cheat sheet for every commercial garment rack project, and it's saved me from buying racks that simply don't fit the room.
| Rack Type | Standard Spec | Typical Use |
|---|---|---|
| Standard commercial | 18–24 in depth | General hanging garments, mixed apparel |
| Shallow wall-run | 12–15 in depth | Tight back-of-house, wall-mounted runs |
| Extra-deep bulk | 24–30 in depth | Heavy outerwear, coats, workwear |
| Double-tier top bar | 70–80 in off ground | Two levels of hanging storage |
| Double-tier bottom bar | 35–40 in off ground | Companion to top bar |
| Wall-mounted coat rack | 60–66 in height | Entry corridors, retail back walls |
Depth isn't a preference — it's a clearance question. Eighteen inches fits a standard hanger with breathing room. Drop below 12 and you're crushing sleeves. Push past 30 without planning for cross-bracing and you're inviting sway under a full load of winter stock.
Verticality matters just as much. Double-tier racks put the top bar at 70 to 80 inches — close enough to the ceiling in older stock that you need to check for sprinkler head clearance, light fixtures, HVAC ducts, conduit, and overhead doors. Wall-mounted coat racks at the standard 60 to 66 inches are simpler, but you still need clearance for the tallest garment you'll actually hang. I've watched a buyer spec a 66-inch wall rack for a store that stocked floor-length evening coats. The math didn't work, and neither did the installation.
Skip the Laser Level and Your Capacity Drops — Quietly
This is the step where I see the most amateur improvisation. A four-foot bubble level, a couple of shims, and a "close enough" — and six months later the rack leans, the beam connections fatigue, and the capacity printed on the spec sheet is fiction.
Out-of-plumb uprights transfer load unevenly. The frame that was designed to share weight across four legs is now asking two legs to do all the work. The rated capacity assumes the structure is plumb within tight tolerances. Stray beyond that and you're not operating at rated capacity — you're operating at whatever the weakest connection can survive. For a heavy-duty garment rack loaded with winter coats, workwear, or stacked inventory, that margin disappears fast.
Laser leveling during frame assembly is not a luxury. It's the difference between a rack that performs to spec and a rack that quietly derates itself every season until somebody notices the twist in the uprights. If you don't have a laser, rent one. If your installer doesn't own one, hire a different installer. I've never regretted being picky about this, and I've never seen a well-levelled rack fail the way a poorly-levelled one does.
Shims are fine for fine-tuning base plates on slightly uneven slabs, but they're not a substitute for proper levelling. Stack them too high and you're creating a pivot point that will settle, shift, or crack under repeated loading.
Anchoring Is Where Code Meets Common Sense
OSHA 1910.176(b) and ANSI MH16.1 are not suggestions. They require storage racks to be securely anchored against tipping, with maximum safe load capacities posted on visible signage. That second part — the sign — is the one I see ignored more than anything else. Inspectors will flag a missing sign before they flag a missing anchor, and a missing sign is a cheap fix compared to the alternative.
For static, heavy-duty garment racks on concrete, you're typically looking at three to four anchors per base plate. The type matters:
1. Wedge anchors — the workhorse. High pull-out strength, fast to install, predictable in sound concrete. Embedment depth drives tension and uplift resistance; deeper is meaningfully stronger.
2. Screw-type (concrete screw) anchors — easier to remove and reposition, but generally lower ultimate load capacity than wedge anchors of the same diameter. Good for fixtures that may need to move.
3. Chemical adhesive anchors — the right call for cracked concrete, tight edge distances, or vibration concerns. Cure time is real, so plan your workflow around it instead of rushing the next step.
What doesn't work: drywall screws, plastic expansion anchors, lag bolts into a wood subfloor that isn't structural. I've seen all three. The drywall screws are the most cinematic — they shear off under load, the rack tips, and everybody in the building suddenly has an opinion about site prep.
If your floor is wood-framed rather than concrete, your anchoring strategy changes entirely — through-bolting into structural blocking or engineered ties to the building frame, not lag screws into whatever happens to be underneath. Mobile garment racks on casters generally aren't anchored to the floor, but they should still be secured against rolling under impact or, depending on your zone, seismic activity.
Three to four anchors per base is a starting point. Embedment depth and concrete condition are where the real capacity lives.
Clean Your Steel, Stage Your Material, and Respect the Work Area
Industrial steel pipe and fittings ship with a thin anti-rust oil coating. Leave it on and you'll stain every garment that touches the rack within a month, and you'll accelerate corrosion anywhere the coating gets nicked during assembly. The fix is straightforward but easy to skip in the rush to install: wash everything down with a degreasing soap, dry it thoroughly, and seal it before assembly. I tell every client to budget an afternoon for this. The ones who skip it always call me back.
Pre-installation logistics matter just as much as the cleaning:
- Material laydown zones. Designate where pallets of pipe, fittings, and hardware will sit during install. Keep them out of the active work path and away from where finished racks will live.
- Drop zones. Larger assemblies get built in place. Plan the floor footprint for sub-assemblies before they're stood up — nothing worse than building a section that doesn't fit through the door.
- Power access. Confirm you have power where you need it for drills, impact drivers, and any concrete-cutting tools. Running extension cords across the working aisle is how people trip and how racks get knocked over before they're anchored.
- Overhead and ground obstructions. Anything above 80 inches — sprinklers, bus duct, signage, conduit — needs to be on your radar before you start standing uprights. Anything on the ground — floor drains, embedded rails, uneven patches — needs to be flagged or worked around.
- Material handling equipment. If forklifts or pallet jacks are bringing material into the install area, the route needs to be clear and the floor needs to take the wheel loads. A loaded hand cart can crack an unprotected slab edge that nobody thought to flag.
Aisle Clearance and Flow — The Part Everybody Underspecs
The most expensive rack system in the world is the one you can't actually use. Aisle clearance is the operational heartbeat of any garment storage layout, and it's almost always underspec'd on the drawing board.
For rolling garment racks, you need enough clearance for the rack to pivot, not just slide. A rack that's 24 inches deep and 60 inches long needs roughly 84 inches of aisle to turn 90 degrees without the corners kissing the next run. For static racks, you're balancing code-required clearances for egress — typically 36 inches minimum for occupied aisles, more for mechanical access — against the operational width your team actually needs.
Workflow dictates more than code. If stockers are pulling from rolling racks and transferring to a packing station, the aisle needs to support that movement without forcing a three-point turn every cycle. If the rack is a display fixture in a retail back room, the clearance supports quick grabs, not graceful navigation. I've measured layouts where the designer gave 30 inches of aisle because it looked right on the plan, and the first day on the floor the staff was forced to turn racks sideways and shuffle them by inches.
Sprinkler clearance is its own constraint. Most fire codes require a minimum of 18 inches between the top of stored goods and the sprinkler deflector. Stack a double-tier rack to its full 80-inch top bar under a ceiling with an 8-foot sprinkler head and you've eaten most of that clearance on day one. Plan for it before the sprinklers get inspected, not after.
A Reality Check Before You Sign the PO
Industrial garment rack installation is one of those jobs where the planning feels slow and the installation feels fast. Reverse that ratio, and you'll save yourself a year of small frustrations.
- The slab is verified — thickness, condition, and load capacity documented with the building engineer, not assumed.
- Depth and height clearances match both the spec sheet and the tallest garment you'll actually store.
- Laser levelling is on the tools list, not the "if we have time" list.
- Anchors are spec'd by type, diameter, and embedment depth, and the post-install load sign is ordered and ready to mount.
- Steel is degreased, dried, and sealed before any garment touches it.
- Material laydown zones, power access, and material handling routes are mapped before the truck arrives.
- Aisle clearances account for rolling stock, pivot radius, sprinkler gaps, and the workflow of the people actually using the racks.
If you can tick every one of those before the first fitting leaves the crate, the rest of the install is just disciplined assembly. If you can't, fix it now — because the rack won't tell you it was underspec'd until something falls, and by then you're paying for it in damaged goods, downtime, or a knock on the door from someone with a clipboard.