Garment rack load capacity: essential pre-purchase calculations
A garment rack rarely fails because someone misunderstood the word clothing. It fails because the load was estimated by eye, the hangers were ignored, and a rack rated for standing still was pushed across a stockroom while fully loaded.
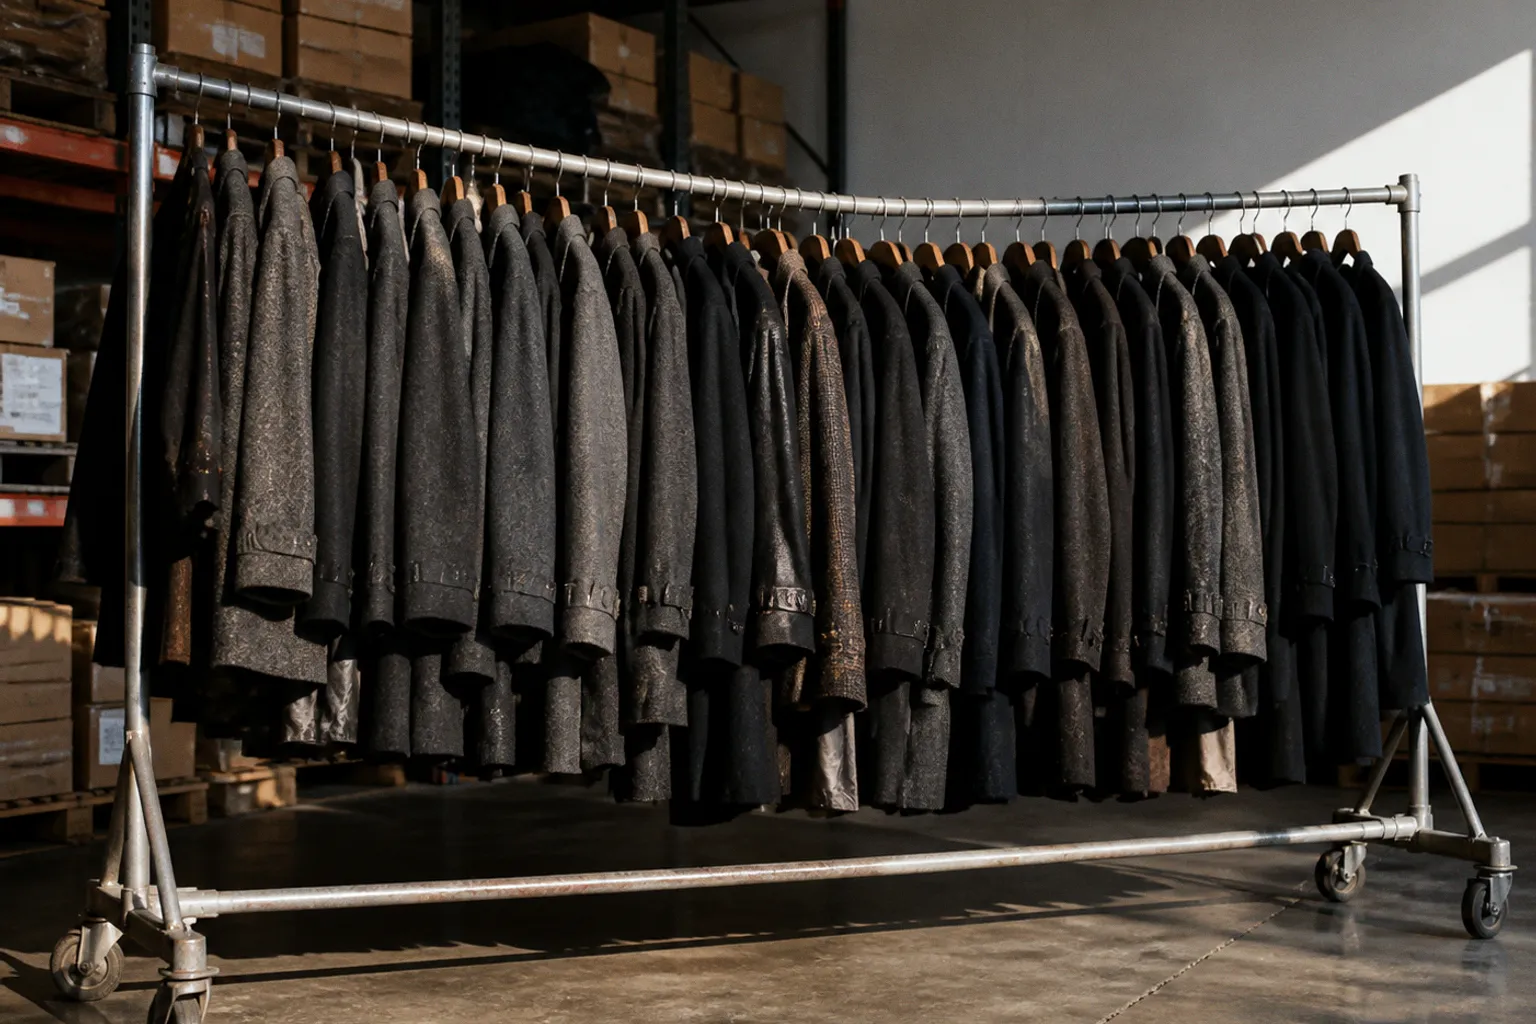
Then the casters complain, the rail bows, and somebody discovers that “heavy duty” is not a technical standard. It is often just a font choice on the product page.
A proper heavy duty garment rack load capacity calculation starts with four separate questions:
- How much do the garments weigh?
- How much do the hangers add?
- Is the rack stationary or moving?
- Where, exactly, does the weight sit?
The last question is where many otherwise sensible purchases go off the rails. A rack can carry a substantial total load while its hanging rod, shelf, hooks, or caster assembly each have much lower individual limits. The frame may look overbuilt. The weakest component still gets the final vote.
Static and dynamic load are not the same number
The first distinction is basic but routinely skipped: static capacity applies when the rack is standing still on a suitable floor. Dynamic capacity applies when the rack is being moved.
Those are different operating conditions, and the difference can be severe. One heavy-duty rack may be rated for 440 pounds, or 200 kilograms, statically but only 259.6 pounds, or 118 kilograms, dynamically. That is not a minor adjustment. It is the difference between a rack that can hold a dense row of stored garments and a rack that can safely travel with a much lighter load.
Moving a loaded rack introduces forces that do not appear in a stationary setup:
- Starting and stopping shifts the load along the hanging rail.
- Uneven flooring transfers force into individual casters.
- Door thresholds and expansion joints create impact loads.
- Turning causes garments and hangers to swing outward.
- A tall rack can become unstable even when the frame itself has not exceeded its nominal weight limit.
I have moved enough loaded racks to distrust the phrase “easy mobility.” It usually means the rack rolls nicely across a showroom floor with no threshold, no corner, and no inventory on it.
For a stationary rack, use the static rating only after confirming that the load is distributed as intended. For a rolling garment rack, use the dynamic rating when the rack is loaded and in motion. If the manufacturer lists only one number and does not clarify the test condition, treat that number cautiously rather than assuming it covers both.
A static load rating tells you what the rack can hold. It does not tell you what it can carry safely around a corner.
A practical calculation begins with the lower applicable rating:
Usable capacity = the relevant rated capacity, reduced by a safety margin and limited by the weakest loaded component.
That means a rack rated at 440 pounds overall may not offer 440 pounds of usable hanging space. The product may distribute that figure across several parts:
| Rack component | Example rated capacity |
|---|---|
| Total static frame capacity | 440 lb |
| Hanging rod | 286 lb |
| Bottom shelf | 110 lb |
| Individual side hook | 11 lb |
If the garments are all on the rod, the 286-pound rod rating becomes the working limit. The 440-pound total figure is still relevant to the frame, but it does not magically reinforce the rail.
How can a rack hold 2,000 pounds?
A rack can hold a stated 2,000 pounds only when that figure describes the complete tested configuration and the load is applied under the conditions specified by the manufacturer. It does not automatically mean that one hanging rod, shelf, bracket, or caster can carry 2,000 pounds by itself.
A large capacity usually depends on several structural features working together:
- Multiple uprights share the vertical load.
- Shelves or rails transfer weight into those uprights.
- Shorter unsupported spans reduce bending.
- Brackets and connectors spread force through the frame.
- The load is distributed instead of concentrated at one point.
- The rack remains stationary if the rating is static.
- The floor, casters, anchors, and fasteners are suitable for the loaded assembly.
This is especially important when evaluating a rack sourced from a yard, warehouse, or secondary seller. Confirm that the stated capacity belongs to the exact model and configuration, not merely to a similar-looking frame. Check whether the figure is a total frame rating, a per-shelf rating, a per-level rating, or a rating for evenly distributed weight. Then identify the lowest-rated component in the load path.
For example, a rack may have enough uprights and shelves for a high total capacity while its garment rod is rated much lower. In that case, clothing must be calculated against the rod limit, not the headline frame figure. A rack may also support a heavy stationary load but be unsuitable for rolling it across a floor, because movement adds impact, sway, and uneven caster loading.
The correct question is therefore not simply “Can this rack hold 2,000 pounds?” Ask instead:
Where is the 2,000-pound load placed, how is it distributed, is the rack stationary or moving, and what is the rating of every component carrying it?
If the product page cannot answer those questions, the capacity claim is not enough for a safe garment-storage decision.
Start with the inventory, not the product listing
The most reliable way to calculate clothing rack weight limits is to estimate the actual inventory that will occupy the rack. “A full rack” is not a measurement. A full rack of T-shirts and a full rack of winter coats are two very different structural problems.
Approximate garment weights give a usable starting point:
| Garment type | Approximate weight per item |
|---|---|
| T-shirt | 0.5–1 lb |
| Pair of jeans | 1.5–2 lb |
| Light jacket | 1.7–2.6 lb |
| Heavy winter coat | 4–6 lb |
These figures are ranges, not laboratory values. Denim density, lining, hardware, moisture, and garment size all move the number. For planning purposes, I would use the upper half of the range if the rack will be repeatedly loaded, stored near its limit, or moved through a back-of-house area.
The basic inventory calculation is straightforward:
Garment load = number of garments × estimated weight per garment
For example:
- 80 T-shirts at 0.75 pounds each = 60 pounds
- 45 pairs of jeans at 1.75 pounds each = 78.75 pounds
- 20 light jackets at 2.2 pounds each = 44 pounds
That produces 182.75 pounds of clothing. The rack is not carrying 182.75 pounds, however. The hangers are part of the load, and they are not weightless just because they are narrow.
Hangers are dead weight, but still weight
A set of 50 quality wooden hangers can add approximately 11–15 pounds. That means 200 wooden hangers may add roughly 44–60 pounds before a single garment is placed on them.
Plastic and wire hangers weigh less, but the distinction matters most when the rack is densely packed. A rack carrying a few dozen shirts will not be transformed by hanger weight. A rack holding several hundred garments can gain a surprisingly large secondary load from the hangers alone.
Use this calculation:
Hanger load = number of hangers × average hanger weight
If the hanger type varies, weigh a sample of ten or twenty rather than relying on a catalog description. A small shipping scale is more useful here than another hour of reading vague claims about “industrial strength.”
Then combine the two:
Total suspended load = garment load + hanger load
Using the earlier example, suppose the inventory requires 145 hangers and the selected hanger averages 0.25 pounds:
- Garments: 182.75 pounds
- Hangers: 36.25 pounds
- Total suspended load: 219 pounds
That is the number to compare against the rod rating, not just the clothing estimate.
Include accessories and packaging
Retail and warehouse inventories often include more than garments. If bags, garment covers, size dividers, clip hangers, hanging signage, or boxed accessories remain on the rack, include them. A few light dividers will not alter the result much, but dense clip hangers and packaged stock can.
The same applies to garments with attached display hardware. A jacket on a simple plastic hanger is one load. A jacket on a heavy wooden hanger with a skirt clip and protective cover is another. The rack does not care whether the extra pounds came from fabric or merchandising hardware.
The 30% buffer is the line between capacity and wishful thinking
Once the clothing and hanger loads are estimated, add a safety margin. A commonly recommended buffer is 30% above the calculated load.
The calculation is:
Required rated capacity = total planned load × 1.30
With a total suspended load of 219 pounds:
219 × 1.30 = 284.7 pounds
The selected rod should therefore have a rated capacity of at least about 285 pounds under the relevant operating condition. If the rack will be moved while loaded, that figure must be compared with its dynamic rod capacity, not its larger static frame number.
This buffer covers ordinary uncertainty:
- The real garments may weigh more than the estimate.
- The rack may be loaded unevenly.
- The inventory may grow after installation.
- Hangers and covers may be replaced with heavier versions.
- Repeated loading can expose weaknesses that a one-time static test does not reveal.
- The floor may not be perfectly level.
- Users may grab and pull garments from one side instead of distributing access evenly.
The buffer is not permission to exceed every rating on the label. A 30% margin does not turn a 200-pound rod into a 260-pound rod. It tells you to select a rack whose stated capacity is already high enough to leave room between the planned load and the rating.
I also avoid treating the buffer as a substitute for missing specifications. If a manufacturer gives a total capacity but says nothing about the rod, joints, casters, or dynamic use, multiplying the one available number by a clever percentage does not create engineering data.
The safety margin belongs between your real inventory and the rack’s rating—not between the marketing copy and the laws of gravity.
Span length changes the rail’s behavior
The vertical supports may be the most visible part of a garment rack, but the distance between them often determines how the hanging rail behaves. A long unsupported span bends more readily than a short one, even when the pipe, tube, or rod material is identical.
A useful comparison illustrates the point:
| Unsupported span | Approximate supported capacity |
|---|---|
| 6 feet | 229 lb |
| 2 feet | 689 lb |
The shorter span supports roughly three times the capacity in this example. That does not mean every two-foot rack will carry 689 pounds. The values depend on the construction and test assumptions. The practical lesson is simpler: clearance between supports is structural, not merely visual.
A six-foot rail gives you more hanging length, which looks attractive on a floor plan. It also creates a longer lever arm and greater bending stress. If the load is concentrated in the center, the rail experiences a more demanding condition than if the same weight is spread close to the uprights.
Distribution matters as much as total weight
Two racks can carry the same inventory weight and experience very different stress.
Consider 240 pounds on a six-foot rail:
- Evenly distributed across the full span, the load is relatively predictable.
- Concentrated in the middle, it creates more bending at the rail.
- Pulled to one side, it increases twisting and can load one upright more heavily.
- Combined with a sudden push while rolling, it introduces dynamic force on the frame and casters.
This is why “the rack holds 300 pounds” is incomplete. You need to know whether that rating assumes an evenly distributed load, a centered load, or a particular arrangement across shelves and rods.
For long industrial clothes racks, intermediate supports are not wasted metal. They reduce the unsupported span, limit sag, and make the rack more tolerant of uneven inventory. The tradeoff is usable clearance: an extra upright takes space that could otherwise hold garments. That is a real design decision, not a defect.
If the rack must have a long uninterrupted hanging run, choose the structure around the required span rather than buying the longest available model and hoping the rail remains straight. Retrofitting a support after installation is possible with some modular systems, but it is far easier to plan the verticality and clearance at the layout stage.
Component-level capacity: the frame is only one part of the system
A garment rack’s structural integrity depends on the interaction of its components:
- Uprights carry vertical load and resist racking.
- Hanging rods handle bending between supports.
- Brackets transfer the rod load into the uprights.
- Connectors prevent the frame from loosening or twisting.
- Shelves carry folded apparel, boxes, and accessories.
- Hooks create point loads.
- Casters support the entire moving assembly and introduce rolling forces.
- Fasteners determine whether the system stays tight after repeated use.
The highest total rating is useful, but the lowest applicable component rating controls the setup. A rack might have a robust frame and a comparatively light side hook. Hanging a box of metal hangers from that hook because “the rack is rated for 440 pounds” is how a small component becomes a large inconvenience.
Rod loading is often the critical calculation
For apparel storage, the hanging rod usually carries the densest concentrated load. Calculate it separately from the frame and shelf:
Rod load = garments assigned to the rod + hangers assigned to the rod + hanging accessories
Then apply the buffer:
Buffered rod requirement = rod load × 1.30
Do the same for each separate hanging level on a multi-tier rack. Do not assume the total capacity can be placed entirely on one rod. A multi-tier rack may be rated for a combined load across two or more levels, with lower limits for each rail.
If one rail carries 180 pounds and a second carries 120 pounds, the frame may be within its combined rating while the upper bracket or lower rail still reaches its own limit. Read the capacity by component and by level.
Shelves create a different load pattern
Bottom shelves are useful for folded stock, bins, shoes, or packaging, but they change the rack’s center of gravity. Dense boxes placed low can improve stability while increasing the load on the shelf and caster assembly. Dense boxes placed high can make a rolling rack top-heavy.
Shelves also tempt users to mix load types without recalculating. A rack that safely handles 250 pounds of suspended garments may not be suitable for another 150 pounds of boxed denim on the bottom shelf unless the frame and shelf ratings support the combined total.
I treat each level as its own load zone, then check the rack’s total rating afterward. This avoids the common mistake of passing one calculation while failing another.
Material integrity: light-duty hardware has a recognizable failure pattern
Domestic garment racks often use thin-walled steel, plastic connectors, telescoping tubes, or friction-fit joints. Their typical ratings may fall around 44–88 pounds, or 20–40 kilograms. That can be entirely adequate for a bedroom, temporary event setup, or lightly stocked fitting area.
Commercial-grade racks use heavier steel or high-tensile chrome construction and may support approximately 176–350 or more pounds, or 80–160-plus kilograms, depending on the configuration. The difference is not just tube diameter. Joint design, weld quality, bracket geometry, caster construction, and span length all affect capacity.
A thicker tube with weak plastic connectors is still a weak system. A strong frame with undersized casters is still a poor rolling rack. Pipe thickness matters, but it is not the sole determinant of load capacity.
When I inspect a rack for commercial use, I look for the failure points that are easy to hide in a product photograph:
- Do the uprights lock mechanically, or do they rely on friction?
- Are the crossbars welded, bolted, or held by small set screws?
- Do the joints resist twisting as well as vertical compression?
- Are the casters sized for the stated dynamic load?
- Does the base remain stable when the rack is loaded unevenly?
- Can the rail be replaced or reinforced without discarding the entire frame?
- Are replacement brackets and casters available?
- Does the modular system allow additional supports if the original span proves too ambitious?
That last question matters for retrofitting. A modular rack is valuable when it can adapt to an actual stockroom rather than the optimistic dimensions on the brochure. Additional uprights, shelves, rails, or locking casters can extend the system’s usefulness. They cannot rescue every weak design, but they can prevent a layout from becoming a permanent compromise.
A practical heavy-duty garment rack load capacity calculation
Here is the process I use before approving a rack for a commercial clothing area.
1. Separate the inventory by garment type.
Count T-shirts, jeans, jackets, coats, uniforms, and any other category rather than using one average weight for everything.
2. Use a realistic weight for each category.
For mixed inventory, use the heavier end of the range when the rack will be densely packed or repeatedly reconfigured.
3. Calculate the garment load.
Multiply the quantity in each category by its estimated unit weight, then add the categories together.
4. Count the hangers.
Include wooden hangers, clip hangers, covers, dividers, and any hardware that remains suspended from the rail.
5. Assign weight to each component.
Put hanging apparel against the rod rating, boxed goods against the shelf rating, and accessories against the hook or bracket rating.
6. Apply the 30% safety margin.
Multiply each planned load by 1.30, not just the grand total.
7. Compare static and dynamic ratings.
Use the static rating for a stationary rack. Use the dynamic rating for a rack that will be moved while loaded.
8. Review the span and support layout.
A long rail with few supports may fail the practical test even when the headline capacity appears sufficient.
9. Check the floor and route.
A rack that rolls through a smooth stockroom may behave differently across thresholds, ramps, damaged flooring, or tight turns.
10. Leave room for future stock.
If the rack is already at its limit on installation day, it has no operating margin. Inventory rarely becomes lighter because the spreadsheet said so.
Worked example
Suppose a retail back room needs to store:
- 120 T-shirts at 0.75 pounds each = 90 pounds
- 60 pairs of jeans at 1.75 pounds each = 105 pounds
- 25 light jackets at 2.2 pounds each = 55 pounds
- 205 hangers at 0.2 pounds each = 41 pounds
The total planned load is:
90 + 105 + 55 + 41 = 291 pounds
Adding the 30% margin:
291 × 1.30 = 378.3 pounds
The rack’s applicable rod capacity therefore needs to be at least about 379 pounds for a stationary arrangement. If the rack will be rolled while loaded, its dynamic rod and frame ratings must meet that requirement. If its dynamic rating is 300 pounds, it is not suitable simply because the static rating says 440 pounds.
There is another issue: 205 garments may not fit comfortably on one rod even if the weight calculation passes. Access clearance matters. If hangers are packed tightly, staff will pull several garments at once, drag the row sideways, and increase local stress at the brackets. A rack that technically holds the load but makes every garment difficult to remove is not an efficient storage solution. It is a metal argument with wheels.
Preventing garment rack collapse through layout, not just hardware
Load calculations are necessary, but the layout determines how that load behaves during daily use. The best garment racks are not simply strong. They are arranged so staff do not need to fight the structure.
Keep the heaviest garments closer to the uprights when possible. Heavy coats and dense denim create less severe bending when their weight is distributed near supports rather than concentrated at the center of a long rail.
Avoid stacking the heaviest inventory at the highest level of a rolling rack. High loads raise the center of gravity and increase instability during turns. Use lower shelves for dense boxes only if the shelf and base are rated for them, and keep the load restrained if the rack moves.
Maintain enough aisle clearance to remove garments without pulling the entire row sideways. A rack placed too close to a wall or another rack forces users to work at an angle. That adds lateral force to brackets and casters and makes access worse.
For fixed systems, anchoring may be appropriate where the structure, wall condition, and local installation requirements support it. For rolling systems, lockable casters help prevent unintended movement while staff load or unload the rack, but locked casters do not convert a mobile frame into a fixed structural installation.
The operating route also belongs in the assessment. Measure door widths, lift clearances, turning radii, floor transitions, and storage bay openings. A rack can fit the assigned footprint and still be unusable because the loaded configuration cannot pass through the next doorway.
Reality check before you buy
Before committing to a garment storage system, I would want clear answers to these questions:
- Is the published rating static, dynamic, or both? If the answer is unclear, assume the number is incomplete.
- What is the maximum load on the hanging rod itself? The total frame rating is not a substitute.
- Does the capacity assume even distribution? If so, plan for support spacing and inventory placement accordingly.
- How much do the hangers weigh? Add them to the suspended load.
- What is the required clearance between uprights? A long, uninterrupted rail carries a different structural burden than a short one.
- Are shelves, hooks, and additional rails rated separately? They should be.
- What happens when the rack is rolled? Look for a dynamic rating, caster specification, and a sensible center of gravity.
- Can the system be retrofitted with more supports or replacement parts? Modularity is useful only when the parts actually exist.
- Does the 30% margin still fit after future inventory is included? If not, the rack is already undersized.
- Will staff be able to remove garments without dragging the whole load sideways? Ergonomics is part of structural reliability.
- Are the connectors mechanically secure? Thin tubes and optimistic plastic joints are familiar failure points.
- What is the floor like in real use? The stockroom floor, not the showroom floor, gets the final test.
The most defensible choice is rarely the rack with the largest number printed in the specification table. It is the rack whose rod, supports, joints, shelves, casters, and layout all agree with the actual inventory.
A heavy-duty garment rack load capacity calculation is not complicated. Count the garments, weigh the hangers, separate static from dynamic use, respect the span, assign loads by component, and keep a 30% buffer. The difficult part is resisting the product page’s invitation to treat one impressive total as the whole engineering story.
A rack should make apparel access easier, not turn every stock move into a structural experiment. If the numbers only work when the load is perfectly distributed, the rack never moves, the hangers weigh nothing, and the inventory never grows, the numbers do not work. They are just being polite.