Closet Organizer Prep: What to Measure and Gather
I've measured closets in homes built in the 1920s, brand-new subdivisions, and everything in between. None of them were square. None of them were level.
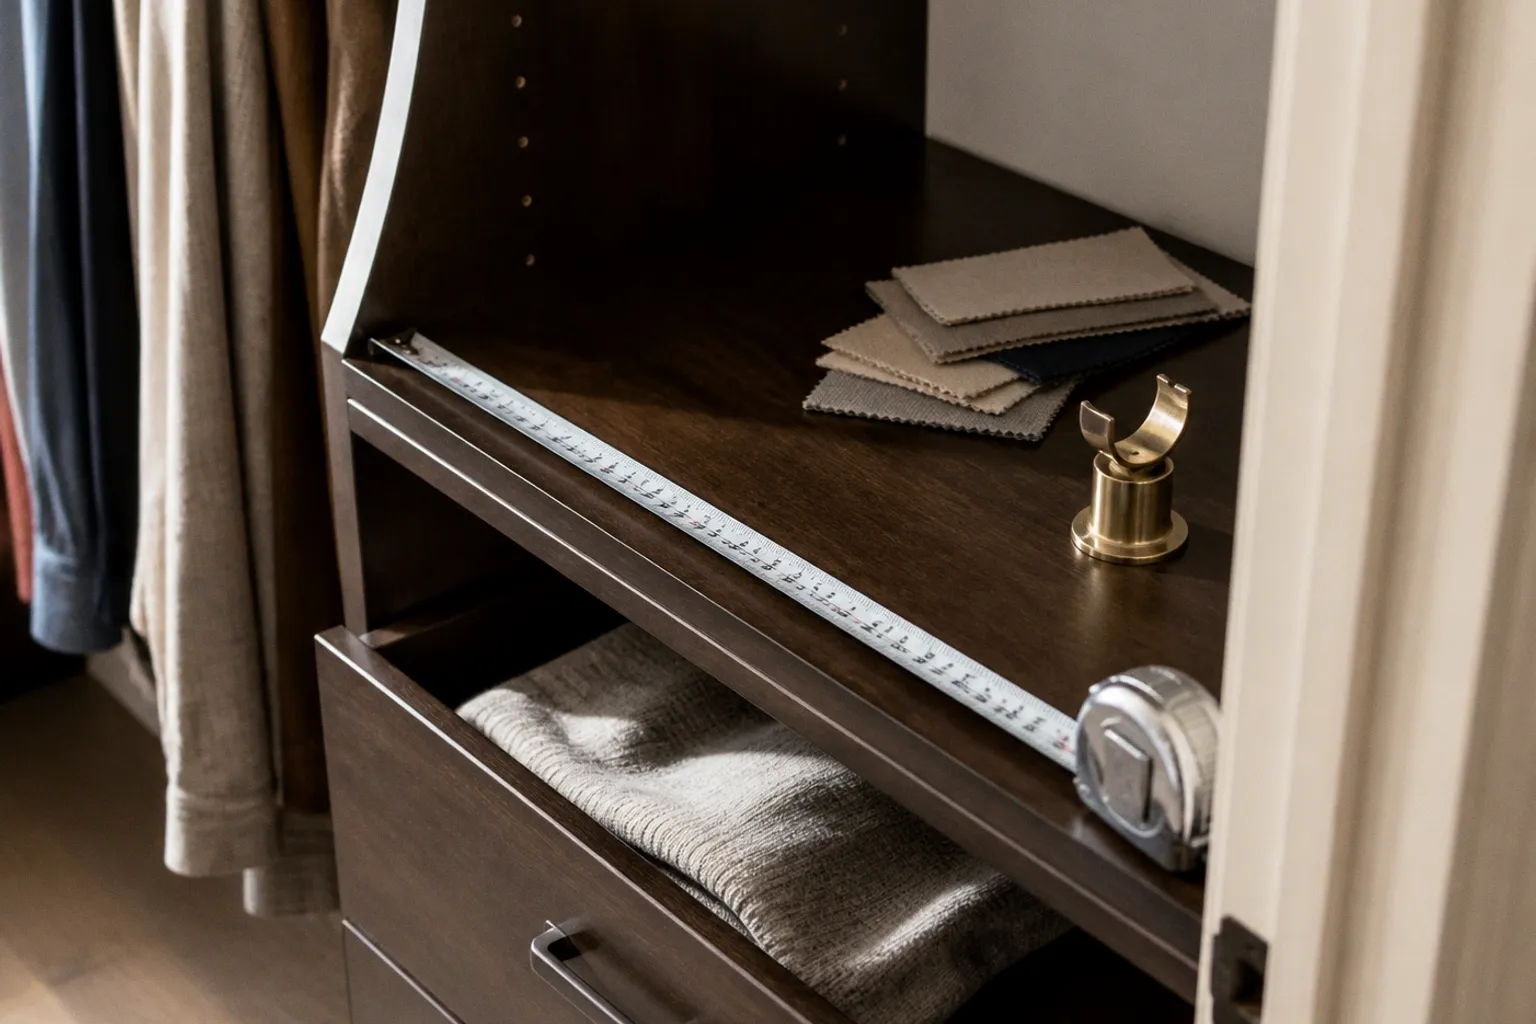
And nearly every homeowner I've worked with has grabbed a tape measure, taken one shot across the back wall, and called it good. That's where the trouble starts.
The closet storage system industry loves to sell you "custom-fit modular bliss" in a flat box. What they don't tell you is that the box only fits if you measure with the kind of rigor most people reserve for IRS forms. I've watched installers try to muscle a 96-inch unit into a 95 7/8-inch opening. I've seen systems bow in the middle because nobody checked for a vent pipe behind the drywall. I've also watched people under-order hanging space because they forgot to account for the bulk of a winter coat on a hangar.
Here's the prep work that actually matters before you spend a dollar, place an order, or invite a contractor into your bedroom.
Walls lie. Tape measures don't. Take three readings on every wall and trust the smallest one.
The Three-Point Measurement Rule for Imperfect Walls
This is the single most important habit in the entire closet storage system planning checklist, and the one that gets skipped more than any other. Residential walls drift. Studs wander. Settling happens. The corner of your bedroom might be 90 degrees on the architect's drawing and 89.4 degrees in your reality.
The fix is mechanical: measure the width of each wall at three points — high, middle, and low — and measure the height at three points too — left, center, and right. Write all nine numbers down. The smallest measurement on any axis is the one you plan around. Not the average. Not the optimistic one. The smallest.
If your back wall reads 95 inches at the top, 95 1/4 in the middle, and 94 7/8 at the floor, your system needs to fit inside 94 7/8 inches. Anything wider will either jam, force you to shave a panel on site (and good luck making that look intentional), or push the unit out of plumb so badly that the doors won't close cleanly.
This rule applies whether you're buying a wall-mounted suspended system or a floor-mounted tower. Suspended systems at the standard 73-inch height absorb small variances because they hang from a single track. Floor-mounted systems at 84 inches tall stack every error on top of itself — a quarter-inch lean at the base becomes a noticeable tilt at the top shelf. Be paranoid. Measure three times, and on the third pass, measure again.
The reason corners specifically drift is the drywall mud. Every joint where two sheets of drywall meet gets a coat of compound, often two or three, and each coat adds thickness. By the time the wall is painted, the corner can be 3/8 to 1/2 inch proud of true. That bulge is exactly where your end panel wants to sit flush, so it isn't. Plan around it. Measure into the corner at three heights and use the longest reading for length, the shortest for clearance — they aren't the same thing.
Defining Your Vertical and Horizontal Clearance Needs
Depth and height are the two numbers that decide whether a reach-in closet works at all, and they don't care about your design preferences.
Reach-in closets — the standard single-wall or door-fronted kind — need a minimum depth of 24 inches. Anything less, and your hanging clothes will brush the back wall or get swallowed by the door swing, wrinkling everything you spent money to hang neatly. This 24-inch floor isn't a suggestion. It's the threshold below which the system becomes a clothes-crushing machine. If your existing closet is shallower, you're either looking at a different door treatment (pocket or barn style) or a renovation that bumps the wall back.
Door swing matters as much as the closet depth itself. A standard hinged door that opens into the room eats about 22 to 24 inches of clear floor space in front of the closet opening. If your shelving or hanging rod projects too far forward of the door's arc, you'll discover this the first time you try to step inside. Bifold doors reclaim some of that swing but add track hardware above the opening, which can eat 1 to 2 inches of headroom. Pocket doors give you the cleanest geometry — no swing, no track interference — but they cost a wall cavity to live in.
Walk-in closets need their own number: a minimum clear passage aisle of 24 inches between opposing walls of hanging clothes or shelving. Anything narrower, and you're pivoting sideways to reach your shirts. Anything wider, and you may have room for a center island — but only if your overall footprint supports it.
For vertical clearance, double-hanging rods — the stacked configuration that puts a short-hang bar above a long-hang bar — require a minimum ceiling height of 84 to 85 inches in that section. Below that, your long dresses and coats will puddle on the floor of the upper bar, or your short-hang items will be crushed against the ceiling rod. Single-hang setups need around 60 inches of clear vertical space for the bar plus garments, and long-hang sections need around 66 to 72 inches.
Also check for soffits, bulkheads, and dropped ceilings around the perimeter — especially in older homes where HVAC ductwork was retrofitted into the closet ceiling. A flat 8-foot ceiling might become a 7-foot ceiling the moment you step four feet to one side. Measure the actual clear height in the section where your tallest rod will sit, not the height by the door.
These aren't arbitrary numbers. They're the geometry of a person, a hangar, and a piece of fabric. Get them wrong, and the system functions but annoys you every morning for the next decade.
Mapping Obstructions and Return Wall Constraints
Before you draw a single line on a closet planner, walk the entire perimeter — floor to ceiling — and catalogue every fixed object. I mean everything.
A closet is a rectangle on paper and a minefield in the room. Map every mine before you start laying track.
Electrical outlets. Light switches. Vent grilles and HVAC supply registers. Baseboard heaters. Access panels for plumbing or electrical junctions. Window trim and the windows themselves. Door trim and the casing on either side. Light fixtures that protrude from the ceiling. Smoke detectors. The little metal nub where the builder drywalled over an old cable hookup and forgot to remove it. Doorstops mounted to the baseboard. Threshold transition strips if the closet floor sits a quarter-inch higher than the bedroom carpet. Cable plates for old antenna or phone lines that nobody uses anymore but nobody removed either.
Every one of these is a notch in your otherwise clean rectangle, and every notch either kills a section of hanging space, forces an awkward panel cut, or pushes an entire module sideways by 3 inches — which then cascades into every other measurement you took.
Return walls — the short "wing walls" that frame the opening of a reach-in closet — deserve their own attention. Measure each one separately. They are almost never identical, even in new construction, and the difference is usually hidden behind the door casing. Side returns should ideally be 12 inches or less so you can actually reach into the corner without a coat hangar and a prayer. If your returns run deeper than that, your corner shelves become storage purgatory where things go to be forgotten.
Watch for sloped ceilings too, particularly under a stair run or in a converted attic closet. The geometry stops being rectangular and starts being a trapezoid, and a modular system that fits flat against a vertical wall will not fit where the wall meets the slope. Either you stop the system short of the slope — losing storage but keeping a clean install — or you scribe the end panel to the angle, which is a cabinetmaker's job, not a Saturday afternoon project.
I keep a clipboard and a floor plan sketch. Every obstruction gets a measurement from two reference points (a corner and the floor) so I can place it on paper with actual geometry, not vibes. "There's an outlet somewhere around here" doesn't survive the trip to ordering.
Inventory Analysis for Shelving and Hanging Configurations
The closet is the box. Your wardrobe is what determines the interior.
Count your hanging items by length: long (coats, dresses, full-length pants on a hangar), medium (shirts, blouses, jackets), and short (folded trousers, shorts, skirts). The ratio between them decides whether double-hanging makes sense or whether you're wasting half your vertical real estate on empty rod above a short-hang bar.
A closet that holds mostly dresses and coats is a single-hang room with maybe one shelf stack. A closet dominated by shirts and trousers is a double-hang paradise. A closet that mixes both needs a hybrid: long-hang on one wall, double-hang on the other, and the homeowner has to be honest about the ratio before they order, not after.
For shelves, the spacing rule is simple and non-negotiable: folded clothing needs at least 12 inches between shelves. Anything tighter and your stack of sweaters becomes a leaning tower that collapses the moment you pull the bottom one. Boxes and storage bins need at least 24 inches of vertical clearance — and that's for standard bins, not the oversized holiday decoration totes that need their own zip code.
Shelf depth is the other quiet killer. The standard depth for folded items and shoes is 12 to 16 inches. Go deeper and you lose the back third of the shelf to unreachable purgatory. Go shallower and shoes overhang, sweaters drape, and everything looks unfinished. The exception is a shelf backed by the wall that sits flush with no front lip — there you can push deeper because access is from above, not the front.
Shoes have their own geometry. A flat shoe shelf needs about 12 inches of depth for men's and most women's shoes, but heeled shoes and boots tip over unless you give them a lip or angle the shelf. Angled shoe shelves (around 30 degrees off vertical) let you see every pair but cut your floor footprint in half. Cubbies of 5 to 6 inches wide and 12 inches deep hold a single pair flat and keep them visible; twenty cubbies eat a 10-foot wall faster than you expect.
Accessories — belts, ties, scarves, jewelry — usually get neglected at the planning stage and then shoved into a drawer that doesn't fit. A single pull-out belt rack takes 4 inches of vertical clearance and a 12-inch width per side. Tie racks want similar real estate. If you wear these daily, budget the space now or accept that they'll live in a tangled heap on a shelf.
| Zone | Min Vertical Clearance | Min Depth |
|---|---|---|
| Folded clothing | 12 in | 12–16 in |
| Standard bins/boxes | 24 in | 12–16 in |
| Hanging clothes (reach-in) | 60–72 in (single bar) | 24 in |
| Shoe cubbies | 6 in | 12 in |
| Belt/tie pull-out | 4 in | 12 in |
Lay your wardrobe out on the bed and count. This is a closet organizer prep step that gets skipped more than any other, and it's the one that separates a closet that actually works from one that just looks good in the install photos.
Calculating Final Dimensions for Built-in Installations
If you're going wall-to-wall — a built-in closet organizer that spans from one side wall to the other — do not order to the exact wall width. Deduct 1/4 inch from the overall width. That's the standard fudge factor for wall variations, drywall thickness differences, and the fact that your corners are not the corners the manufacturer assumes.
Some installers deduct more. I've used 3/8 inch on old houses with plaster walls and wavy returns, and I've used 1/8 inch on new construction where I trust the framing. The point is to leave a deliberate gap that you'll cover with a trim piece or caulk, not to force a unit into a space that doesn't want it. A forced fit will rack the unit, stress the fasteners, and eventually loosen your wall anchors. This is the kind of modular closet system measurement mistake that turns a Saturday project into a Monday return.
Baseboards complicate the math further. If the unit sits on the floor and runs into a baseboard at the back wall, either the baseboard gets cut back to the width of the unit or the unit gets set forward by the baseboard thickness — typically 3/8 to 5/8 inch. Either choice works; choosing it before you order is what matters. A unit ordered to the back wall and then shoved against an uncut baseboard will sit 5/8 inch proud of the wall on one side and flush on the other, and you'll notice every time you walk in.
For wall-mounted systems, the 73-inch standard height means your mounting track needs solid backing — ideally into wood studs at every possible point. Drywall anchors are an emergency, not a plan. Before you commit to a suspended system, find the studs with a real finder (not the magnet-on-a-stick kind) and mark their locations relative to your obstructions. Stud spacing in newer homes sometimes wanders from the assumed 16 inches on center, and metal-mesh-backed drywall defeats cheap magnetic finders entirely. If you're planning a home garment rack installation prep that relies on a wall-mounted rail, this step is non-negotiable.
Floor-mounted systems at the standard 84 inches give you more vertical real estate but transfer all the load to the floor and the rear wall cleat. They handle heavier garments, denser storage, and the inevitable pile of stuff nobody wants to fold. They also don't forgive an out-of-level floor. Check your floor with a 4-foot level before you commit, and shim the base if you have to. A shim under the low side of a tower is invisible once the unit is loaded with clothes, and it keeps the doors swinging true for the next decade.
Before You Click Order
A reality check from someone who has unboxed more wrong-sized systems than I care to admit:
- Three readings, smallest wins. Width and height, top/middle/bottom and left/center/right. Trust the smallest number on every axis.
- 24-inch depth for reach-ins, 24-inch aisle for walk-ins. Below those thresholds, the geometry stops working.
- 84 to 85 inches for double-hang. Anything shorter, and the long items lose.
- 1/4-inch deduction on wall-to-wall built-ins. Forcing a fit racks the unit and wrecks the drywall anchors.
- 12 inches between shelves for folded clothes, 24 inches for bins. These are access minimums, not aesthetic suggestions.
- Return walls measured separately, 12 inches or less for usable corners. Deeper returns, and your back corner becomes dead space.
- Every obstruction catalogued with two reference points. Outlets, switches, vents, trim, baseboard heaters, access panels. Sketch it.
- Wardrobe counted by length and shelf spacing. Don't plan around the closet you wish you had — plan around the one you actually keep.
- Studs located before committing to a wall-mounted system. Magnetic finders miss far too many studs in modern construction.
If you've got all nine of those items in a notebook with measurements that match reality, you're ready to order. If you don't, the system that arrives at your door is going to teach you a lesson in friction, clearance, and the marketing department's imagination. Measure first. Buy second.