Modular Shelving Setup: Pre-Purchase Checklist
A modular shelving system rarely fails because the shelves are too ugly. It fails because the room is ⅜ inch narrower than the catalog drawing, the door swing steals the only usable clearance, or a…
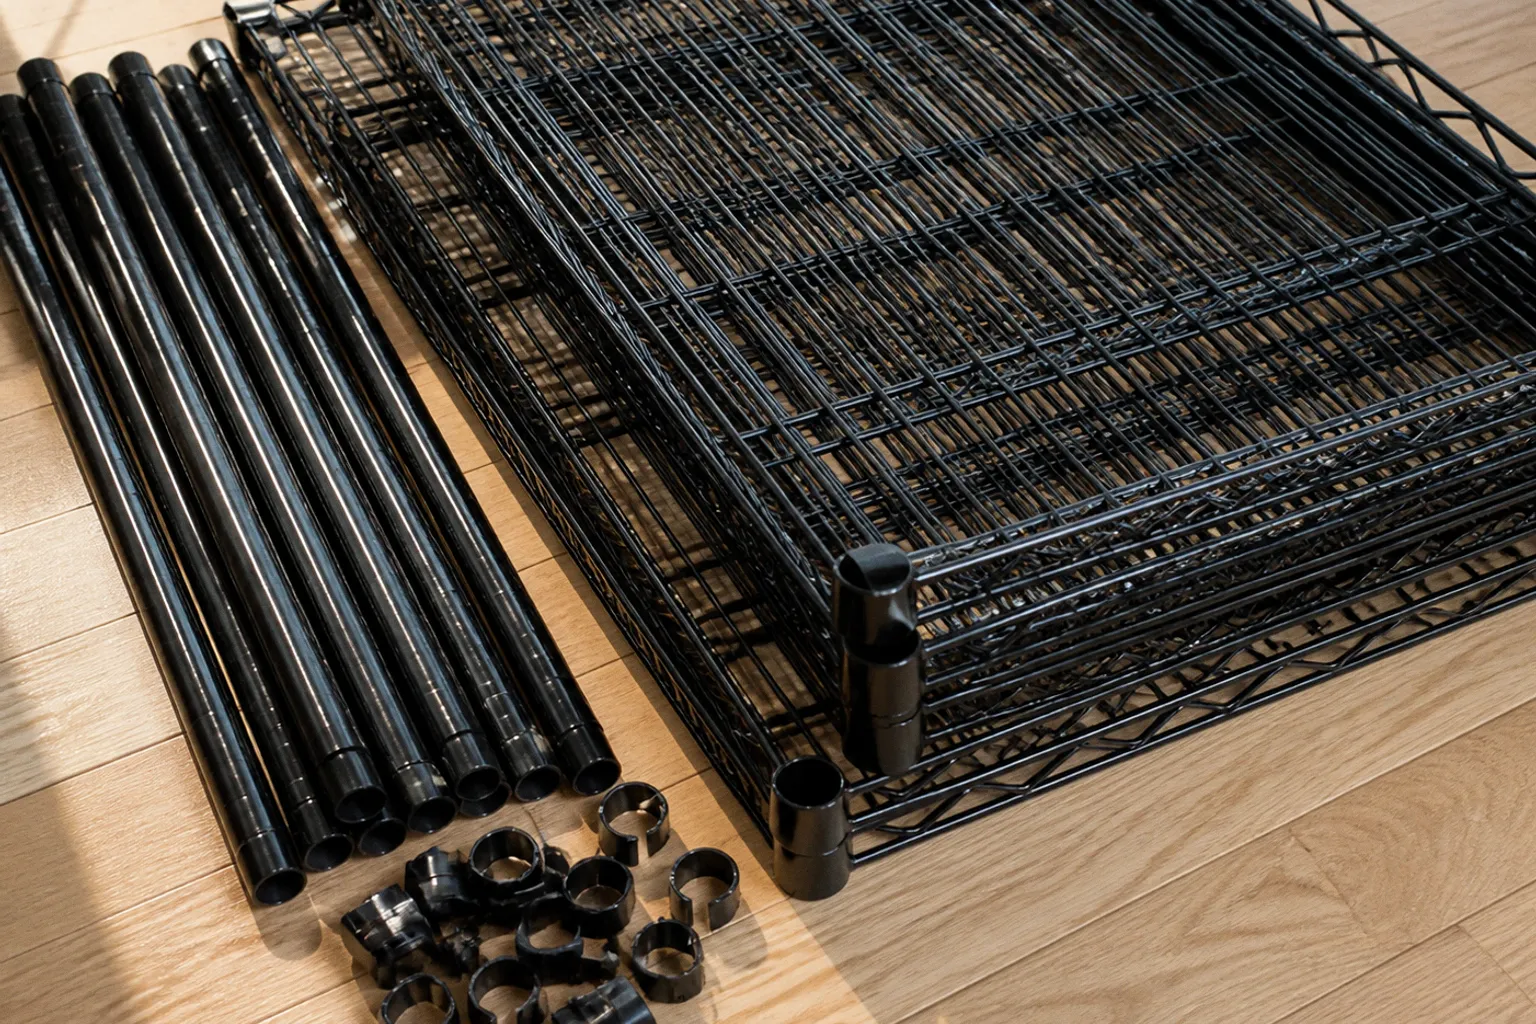
A modular shelving system rarely fails because the shelves are too ugly. It fails because the room is ⅜ inch narrower than the catalog drawing, the door swing steals the only usable clearance, or a five-foot hanging rod is asked to carry an entire wardrobe with one optimistic bracket in the middle.
That is why a modular shelving system prep checklist starts before the order is placed. I measure the room, inventory the clothing, map every obstruction, and only then decide which components have earned the right to occupy the wall. Modular storage is flexible, but it is not magical. It cannot negotiate with crooked walls, low ceilings, baseboards, or gravity.
Start with the room, not the product catalog
The most expensive mistake in home modular shelving planning is choosing a system first and trying to force the room to accept it afterward. Retail diagrams assume clean rectangles. Houses tend to provide settling, wall drift, trim, pipes, outlets, radiators, light switches, and corners that appear to have been negotiated by committee.
Before comparing finishes or arguing about whether matte black looks better than brushed brass, establish the actual envelope available for the system.
For a wall-to-wall installation, measure width at three points:
1. Near the floor.
2. Around the middle of the wall.
3. Near the ceiling.
Then measure height in three places:
1. At the left side.
2. At the center.
3. At the right side.
Use the smallest width and the smallest height for planning. The largest measurements are pleasant fiction. They describe the one part of the wall where the system might fit if you suspend it in midair and never install it.
Wall-to-wall organizers should also be ordered with at least a ¼-inch deduction from the overall measured width. That clearance is not wasted space. It gives you room to position the system without racking the frame, scraping drywall, or driving anchors into a structure that has been forced sideways.
A built-in that fits only on paper is not built-in furniture. It is a future repair bill with shelves.
Record the obstructions people forget
A tape measure tells you the room’s dimensions. It does not tell you whether the room can be used.
Walk the perimeter and mark:
- Baseboard height and depth.
- Crown molding or ceiling trim.
- Door and drawer swing paths.
- Closet door tracks.
- Window casings and sills.
- Electrical outlets and switches.
- Radiators, vents, thermostats, and wall-mounted controls.
- Sloped ceilings or soffits.
- Plumbing access panels.
- Any protrusion that will prevent a rail, upright, or side panel from sitting flat.
Take photographs with the tape measure visible. This sounds excessive until you are standing in a hardware aisle trying to remember whether the outlet is 11 inches or 17 inches from the corner. Memory becomes remarkably decorative under pressure.
For wardrobes and garment racks, also mark the area occupied by open doors and pull-out drawers. A rack can technically fit in the room while making the closet impossible to operate. That is not storage optimization. It is a very tidy obstruction.
Depth and access determine whether storage is usable
A reach-in closet needs a minimum depth of 24 inches if hanging clothes are expected to sit normally. Less than that, and garments begin brushing the walls, colliding with doors, or projecting into the access zone. Slim hangers may reduce the problem. They do not repeal geometry.
The 24-inch figure should be treated as a functional minimum for a standard hanging arrangement, not as permission to fill every remaining inch with components. You still need room to stand, turn, pull a drawer, and see what is behind the first row of clothing.
Shelf depth is a different calculation. Folded items and shoes generally work within a 12- to 16-inch shelf depth. Deeper shelves can hold more, but they also create a second row of objects that must be excavated to reach the first. If the shelf is intended for sweaters, jeans, or shoes, a moderate depth usually produces better access than a cavernous platform.
Storage bins need vertical clearance. Allow at least 24 inches where bins must be lifted, tilted, or pulled from a high shelf. A bin may physically occupy a smaller opening, but the user still has to get fingers around it and clear the shelf above. This is where many beautifully rendered closet designs become awkward in real life: the box fits, but the human hand does not.
Folded clothing needs at least 12 inches of vertical clearance between shelves. That gives a stack enough room to be removed without collapsing into a fabric landslide. Tighter spacing may look efficient in an elevation drawing, but it turns every folded shirt into a low-level extraction operation.
Side returns can quietly waste a closet
Reach-in closets often have short return walls at each side. These are easy to ignore because they are not part of the main back wall. They still determine whether the corners remain usable.
Keep side returns at 12 inches or less where possible. Deeper returns can block sightlines and make the corner difficult to reach, especially when hanging garments project forward. A shelf that disappears behind the return wall is technically installed and practically missing.
This is also where door swing matters. If a closet door opens inward, the return wall and the first section of shelving must share the available clearance. A system that fits across the back wall may still be unusable because the door strikes the side panel or the clothing in front of it.
Vertical planning: your ceiling has a vote
Verticality is one of the strongest advantages of modular shelving. It is also one of the easiest ways to design a storage system that looks efficient and feels hostile.
Double-hanging rods require a ceiling height of at least 84 to 85 inches. That minimum allows the upper and lower hanging zones to function without crushing garments or letting clothes puddle onto the floor. If the ceiling is lower, a double-rod layout may still be possible in a narrow configuration, but it should not be treated as a standard drop-in solution.
For a single-tier wall-mounted clothes rack, position the center of the rod between 60 and 66 inches from the floor. This range keeps everyday garments accessible without wasting the upper wall. The right height depends on garment length and the user’s reach, but the general principle is simple: a rack should support access, not require a step stool for ordinary clothing.
Before buying a double-hanging configuration, measure the wardrobe rather than relying on the product photograph. Separate garments into practical categories:
- Shirts, blouses, and jackets.
- Trousers folded over hangers.
- Dresses and coats.
- Long skirts or formalwear.
- Seasonal pieces that can live higher or farther back.
Long garments need a dedicated zone. If you distribute dresses across a lower rod designed for shirts, the hem will gather on the floor or collide with the shelf beneath. That is not a minor styling issue. It damages access and consumes the clearance the rest of the system was supposed to create.
Small accessories still require real dimensions
Accessories are often treated as free storage because they are small. They are not free. Pull-out hardware has its own footprint.
A single pull-out belt rack needs 4 inches of vertical clearance and 12 inches of width per side. That space must remain clear of adjacent drawers, doors, and vertical dividers. The rack also needs enough front clearance to extend fully without hitting a wall or another accessory.
The same logic applies to valet rods, tie racks, pull-out baskets, and shoe trays. A component that requires movement needs a movement envelope. Measuring only the closed position is how people end up with accessories that technically exist but can never be opened.
Load capacity begins at the wall
A shelf system’s stated capacity is not the same thing as the capacity of your wall. The final working load depends on the component, the fastener, the spacing, the wall material, the installation method, and how far the load projects from the wall.
Direct anchoring into wall studs is the gold standard for clothes racks and heavy shelving. When a stud is available in the right position, use it. A stud provides a more reliable structural connection than a standard plastic drywall anchor, which should not be used for a loaded clothes rack.
If the rack cannot be aligned with studs, the fastener choice has to match the load and the wall construction. The reference working loads are useful as planning ranges:
| Anchoring method | Approximate working load | Practical limitation |
|---|---|---|
| Directly into wall studs | 50–75 lb per anchor | Requires accurate stud location and suitable screws |
| Metal expansion anchors or Molly bolts | About 75 lb | Capacity depends on wall condition and installation |
| Toggle bolts or strap toggles | About 100–200 lb | Requires adequate cavity space and proper seating |
These figures are not permission to add the numbers together and hang a small car from a closet rail. Loads are distributed unevenly. A bracket near the end of a rod can experience more stress than a bracket in the middle, and a deep shelf creates leverage that increases the pull on the upper fasteners.
Wall condition matters too. Damaged drywall, patched areas, loose plaster, and hollow sections near openings can reduce the reliability of an anchor. If the installation crosses multiple wall types, plan each attachment point rather than assuming the entire wall behaves the same way.
Avoid the “it feels solid” test
A bracket can feel solid when empty and fail once loaded. Clothing is deceptively heavy when concentrated on a rod, particularly when coats, denim, leather, and packed hangers share one span.
I prefer to think in terms of working load rather than the maximum number printed on packaging. The system should remain stable after ordinary use: loading, unloading, pulling a drawer, shifting a bin, and occasionally hanging something heavier than intended. People do not interact with storage gently or uniformly. The bracket needs to survive the behavior of the user, not just the idealized behavior shown in the installation diagram.
Rod spans: five feet is where optimism ends
A hanging rod spanning more than 5 feet requires a center support bracket to prevent sagging under the weight of clothing. This is one of the simplest rules in a modular shelving installation prep plan, and one of the most frequently ignored.
A long rod may look clean without a center support. It also looks clean when it begins to bow. The problem grows gradually: hangers crowd toward the middle, garments become harder to slide, and the rod places increasing stress on the end brackets. Eventually, the system stops behaving like a rack and starts behaving like a low-budget suspension bridge.
Break long runs into shorter sections where possible. A vertical divider can provide structural support while also separating garment categories. In a high-end closet, this often produces a better result than one uninterrupted rod because the storage becomes easier to scan and the load is distributed across multiple bays.
Plan supports around use, not symmetry
A center bracket should not be placed where it blocks a drawer, collides with a pull-out accessory, or lands directly over the area where the longest garments need to move. Structural support is necessary, but it has to coexist with access.
For a wall-mounted single-tier rod, establish the rod height first, then check:
- Whether the bracket can meet a stud or receive a suitable anchor.
- Whether the rod clears the door swing.
- Whether garments can slide past the bracket.
- Whether a shelf above leaves enough room for hangers and hands.
- Whether the end returns restrict access to the first and last garments.
Symmetry is useful when it helps distribute load. It is not a substitute for clearance. A perfectly centered bracket in the wrong location is still in the way.
Wall-to-wall systems need installation tolerance
A wall-to-wall modular organizer should not be treated like a cabinet that can be wedged into a precise opening. The opening is rarely precise, and the system needs tolerance for adjustment.
The ¼-inch width deduction is the minimum planning gap identified for preventing a forced fit. Depending on the system and the manufacturer’s installation method, additional filler pieces or trim may be needed to close the visual gap after the main structure is leveled. That is a finishing problem. It is much easier to solve than a structural system that has been jammed into the opening and twisted out of alignment.
A forced fit can damage drywall, distort rails, and place stress on anchors. It can also make later adjustment impossible. Modular systems depend on their ability to be leveled and aligned. Remove that movement, and you have eliminated much of the reason to choose modular construction in the first place.
Level first, finish second
Before the final tightening, confirm that:
- The floor does not slope enough to change the usable height across the system.
- Vertical uprights are plumb.
- Rails are level.
- Shelves sit fully on their supports.
- Doors and drawers clear adjacent components.
- Wall anchors are seated correctly.
- No trim or molding is forcing a component away from the wall.
Do not use loaded shelves to conceal an installation that is slightly out of level. Weight can mask movement temporarily while increasing stress at the same time. The system should be stable and aligned empty, before the wardrobe arrives.
Common modular shelving mistakes to avoid
The recurring failures are not mysterious. They come from treating storage as a collection of attractive parts instead of a physical system with limits.
1. Measuring once and ordering immediately
One wall measurement is a snapshot, not a plan. Walls drift. Floors settle. Trim changes the usable opening. Use the three-point measurement rule and plan from the smallest reading.
2. Ordering to the exact wall width
Exact-fit ordering leaves no adjustment tolerance. Deduct at least ¼ inch for wall-to-wall systems, then account for the manufacturer’s trim and filler requirements.
3. Ignoring the door swing
A rack can fit within the room’s footprint and still block the door. Trace the full swing, including handles and nearby drawers.
4. Treating every shelf as general-purpose
A 12-inch shelf depth may work well for folded clothing and shoes. It may be useless for oversized bins. A 24-inch clearance zone may be necessary for lifting and removing storage containers.
5. Using plastic drywall anchors for a clothes rack
Do not. Loaded hanging systems create pull and leverage at the fasteners. Anchor into studs where possible, or use a fastening method rated for the wall and expected load.
6. Stretching a rod past 5 feet without support
A long span needs a center support bracket. If the support interferes with access, redesign the bay rather than pretending the rod will remain straight out of gratitude.
7. Designing for the average wardrobe
The average wardrobe is a convenient myth. Your actual storage needs may be long coats, folded knitwear, shoes, luggage, or bins. Inventory the garments before deciding the rod and shelf mix.
8. Using all available vertical space
Verticality is valuable only when the upper zones can be reached and used. Leave clearance for hands, bins, and the removal path. A shelf that requires a ladder for every item is not efficient storage; it is a high-mounted archive.
The best modular system is not the one with the most parts. It is the one that leaves enough clearance for the parts—and the person using them.
A practical pre-purchase sequence
When I install or retrofit a home garment rack or closet system, I follow the same order. It keeps the attractive decisions from outrunning the structural ones.
1. Measure the room at three points.
Record the smallest width and height, then note floor slope and ceiling irregularities.
2. Map every obstruction.
Include trim, doors, outlets, radiators, vents, switches, and side returns.
3. Establish the access zone.
Confirm 24 inches of closet depth for standard hanging clothes and enough front clearance for doors, drawers, and hands.
4. Inventory the wardrobe.
Count long garments, short garments, folded stacks, shoes, bins, and accessories. Do not design around a product photograph.
5. Set the vertical layout.
Check whether the ceiling can support double hanging at an 84- to 85-inch minimum height. Reserve long-garment space before filling the wall with short rods.
6. Choose shelf depths and clearances.
Use roughly 12 to 16 inches for folded items and shoes, at least 12 inches of vertical space for folded clothing, and 24 inches where bins must be lifted out.
7. Divide long rod spans.
Any span over 5 feet needs a center support bracket. Use dividers where they improve both load distribution and access.
8. Plan the anchoring points.
Locate studs and identify where alternative anchors will be required. Never assume a drywall anchor is suitable merely because it fits the hole.
9. Build in installation tolerance.
Deduct at least ¼ inch from wall-to-wall width and allow for leveling, fillers, and trim.
10. Review the system as a working object.
Open every drawer, pull every accessory, slide garments across each rod, and reach the upper shelves. If the layout only works when nobody touches it, it does not work.
Final reality check before you buy
A modular shelving system should make the room easier to use, not merely more complete on an online configurator. Before placing the order, I want clear answers to these questions:
- Did I measure width at the floor, middle, and ceiling?
- Did I measure height at the left, center, and right?
- Am I planning from the smallest dimensions?
- Is there at least 24 inches of usable closet depth for hanging clothes?
- Do double-hanging sections have the required 84 to 85 inches of ceiling height?
- Are folded-clothing shelves spaced with at least 12 inches of vertical clearance?
- Do bins have around 24 inches of removal clearance?
- Are side returns shallow enough—ideally 12 inches or less—to keep the corners usable?
- Is every rod span over 5 feet supported in the center?
- Are loaded racks anchored into studs or secured with an appropriate alternative?
- Have I deducted at least ¼ inch from a wall-to-wall opening?
- Can the doors, drawers, pull-outs, and accessories actually move?
- Does the layout fit the wardrobe I own rather than the wardrobe shown in the marketing image?
If the answer to any of these is no, the solution is not to order faster. Rework the layout. Modular systems reward measured planning because they are designed to be adjusted; they punish improvisation because every forced component transfers stress somewhere else.
The useful promise of modular shelving is not that it fits anywhere. It is that, with accurate measurements and honest clearances, it can be configured around the room you actually have. That is a much less glamorous claim—and a far more reliable one.