Open wardrobe systems: four paths for bedroom storage
You've got 40 linear feet of clothing, two people sharing a room, and not a single sightline that works before coffee. That's not a closet problem — it's a floor-plan problem.
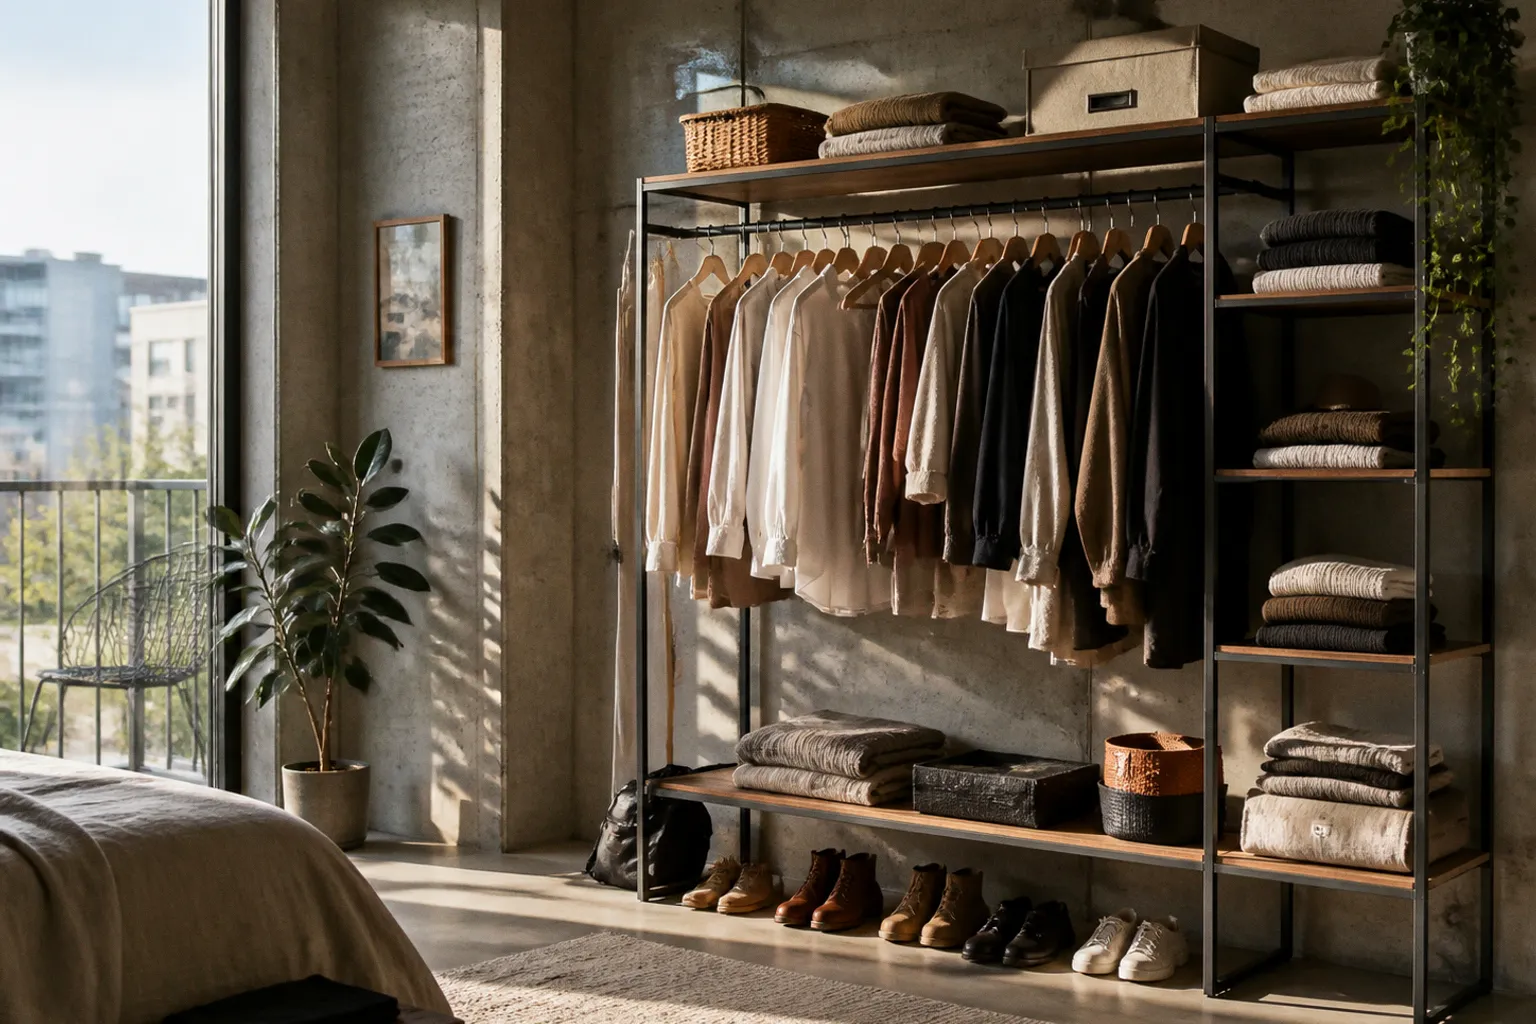
We see it every week walking through homes and showrooms: the bedroom is the most under-optimized retail space in the house, and the open wardrobe system is the fastest way to fix it. Forget the swinging doors and the dark cavern where half your inventory disappears the moment you close them. We're going to walk four distinct paths — freestanding, wall-mounted, telescopic, and modular — and pick the one that turns your bedroom floor into a high-conversion planogram you actually want to use at 6:47 a.m.
Compare car rental deals in United Kingdom
See available offersPartner link — DiscoverCars comparisonFreestanding garment racks: the mobile endcap
Think of a freestanding garment rack as the seasonal endcap of your bedroom — the merchandising tool you can move, restock, and re-theme in fifteen minutes. It's the entry point most of our residential clients start with because the SKU density is unbeatable for the dollar and the commitment is zero.
What you're buying is mobility. A solid freestanding rack — typically a chrome or powder-coated steel frame on casters, with a single hanging bar at roughly 165–175 cm of vertical clearance — gives you about 1.5 to 1.8 meters of usable hang space for shirts, trousers, and mid-length jackets. Add a lower shelf and you've just gained a shoe landing zone that previously lived in a pile by the door. That's the equivalent of fixing a dead zone in the back corner of an aisle: suddenly the floor is doing something.
The trade-offs are honest. Freestanding racks sway when you load them unevenly, they show their working hardware from every angle, and the depth sits in the 45–55 cm range — shallower than a standard closed wardrobe but still enough to project into a small bedroom if you're not careful about placement. They're also the lowest load-bearing option. Most residential-grade freestanding racks max out at 20–30 kg total before you start seeing the crossbar bow.
When does freestanding win? When you're renting, when the bedroom footprint is under 10 square meters, when you need to flex the layout for guests or a growing wardrobe, or when the budget is the primary constraint. When does it lose? When you share the room with someone whose wardrobe is four times the size of yours and the rack becomes the visual centerpiece of the space. In a shared bedroom, freestanding racks read as "temporary" even when they aren't — and that visual language quietly downgrades the perceived value of the whole room.
If your guests can see your whole wardrobe the moment they walk in, you've turned your bedroom into a 24/7 display window. That's either a feature or a bug, depending on how you stock it.
Wall-mounted shelving: the anchor wall
Wall-mounted systems are the anchor wall of the open wardrobe world — the fixture your eye lands on first, the one that defines the sightline. If a freestanding rack is an endcap, wall-mounted shelving is the gondola run along the perimeter.
The headline benefit is floor recovery. By lifting the hanging rail and the shelves off the ground and onto the wall, you free up every square centimeter underneath for a dresser, a bench, or just clean sightlines to the opposite wall. In a narrow bedroom — the kind where the door hits the bed frame — wall-mounted is often the only path that keeps the room functional.
But here's where we slow down, because wall-mounted is where most homeowners buy the wrong system for their wall. The load capacity of any wall-mounted clothes rail is almost entirely a function of the wall it's mounted to. Solid concrete or solid brick will carry a heavy-duty rail loaded with winter coats without complaint. Standard drywall or a hollow partition wall is a different conversation — you need to hit studs, you need heavy-duty anchors, and even then you're looking at a much lower working load. If you're mounting into drywall and you can't find the studs, you're essentially hanging a 30 kg wardrobe off a picture hook and hoping for the best. Don't do it.
A practical rule of thumb: if your wall is plasterboard over studs, budget for a stud finder and a bag of proper toggle bolts before you budget for the rail itself. If your wall is masonry, you can hang heavier modular systems directly with masonry anchors and skip the worry. The system itself matters less than the wall behind it.
Wall-mounted also gives you the cleanest depth profile of all four paths — as shallow as 30 cm for a single rail and shelf combo, which is half the depth of a standard closed wardrobe at 60 cm. In a room where every centimeter of floor matters, that difference is the difference between a bed that fits and a bedroom that doesn't.
Telescopic tension systems: the no-drill pop-up
Telescopic tension systems are the merchandising move we reach for when the customer has a constraint that won't bend: no drilling, no damage to the walls, no permanent installation. They clamp between the floor and the ceiling with spring-loaded uprights and lock in place. Think of them as the pop-up display of bedroom storage — fast to deploy, easy to retract, surprisingly capable.
A typical residential unit — and the spec we use most often as our reference — adjusts in height from 200 cm to 295 cm and in width from 124 cm to 226 cm, with a total weight capacity around 65 kg. That's enough hanging space for a full season's worth of shirts and trousers for two people, plus one or two lower shelves for folded items or shoes. For renters, for students, for anyone who needs a working wardrobe in an apartment they don't own, this is the most elegant answer we know.
The ceiling is the constraint. Standard residential ceilings sit between 240 cm and 270 cm, which means the system fits comfortably in most bedrooms without a fight — the upper clamp has room to spare and the uprights don't need to be coaxed into position. Drop ceilings, suspended ceilings, or coving that drops below the main ceiling line will defeat the tension mechanism, though. The upright needs solid contact at both ends or it will drift. We've seen installations in rooms with ornamental ceiling roses that looked fine from the ground but left the top plate sitting on a curved surface with no real grip. If you've got a ceiling fan in the middle of the room, check the swing radius: the top of the upright sits within a few centimeters of the ceiling and we've seen more than one unit get knocked crooked by an over-eager fan.
Visual honesty matters here too. Telescopic systems are honest about what they are — a steel frame with shelves. They don't pretend to be built-in millwork and they don't need to. In a minimalist bedroom with a low visual budget, that honesty is the point. In a heritage room where the rest of the furniture is solid walnut, the same honesty reads as "rental-grade" and you'll wish you'd gone modular.
Telescopic systems don't fail because the spring is weak. They fail because someone hung a winter coat on the top rail and expected the bottom shelf to behave the same way. Load the top rail first, then work down.
Modular open wardrobes: the full planogram reset
Modular open wardrobes are the full planogram reset — the equivalent of gutting the store and rebuilding around the customer journey. You're buying a system, not a piece of furniture, and the system is designed to carry weight, accept customization, and grow with you.
High-end modular systems like the CLOS-IT platform run on shelf boards rated to 30 kg per board, with drawers, hanging rails, shoe inserts, and accessory trays that click into a metal frame. The depth profile is typically 55–60 cm, which puts it within a centimeter or two of a standard closed wardrobe — but you get full visibility of every garment, every folded stack, and every pair of shoes, which is the actual reason people move to open wardrobes in the first place. Dwell time in your own closet goes up because you can see what you own. Impulse re-wears go up because the rotation is visible. The "I forgot I had that" problem disappears.
The cost is real. A fully built-out modular open wardrobe runs three to five times the price of a freestanding rack and takes a full day to assemble. The return is measured in years, not weeks, and the unit holds its value if you ever need to disassemble and move it.
The honest caveat: modular systems still look like modular systems. If your aesthetic target is "looks like it was always there," you need custom millwork, not a modular kit, and that's a different budget conversation entirely. For everyone else — and that's most of the residential market — modular is the sweet spot between freestanding flexibility and built-in permanence.
Choosing between the four: a quick comparison
Here's how we lay them out on the floor when a customer asks which one to take home.
| Parameter | Freestanding | Wall-mounted | Telescopic | Modular |
|---|---|---|---|---|
| Installation | None, casters | Drilling required, studs critical | No drilling, ceiling clamp | Assembly, 2–4 hours |
| Total load capacity | 20–30 kg | 30–80 kg (wall-dependent) | 60–70 kg | 100–200 kg+ |
| Typical depth | 45–55 cm | 30–55 cm | 45–55 cm | 55–60 cm |
| Mobility | Full | None | Limited (un-clamp) | Limited (disassemble) |
| Best for | Renters, small rooms, tight budgets | Long-term installs, narrow walls | No-drill constraints, ceilings 240–270 cm | Permanent bedrooms, full wardrobes |
| Aesthetic language | Casual, industrial | Built-in, clean | Honest, minimalist | Premium, structured |
The decision tree is shorter than it looks. If you can't drill, you're telescopic. If you can drill and the wall is masonry, you're wall-mounted. If you want to move the wardrobe around the room, you're freestanding. If you want it to look like furniture in five years, you're modular.
Spatial planning: walkway, vertical, and depth
Once you've picked the system, the merchandising is in the layout. Three numbers drive everything else, and we've watched too many installs fail because one of them got missed.
Walkway clearance. The minimum comfortable walkway between two opposing wardrobe runs — or between a wardrobe run and the opposite wall — is 900 mm. Below 900 mm you're brushing the hangers with your elbows when you reach for a shirt, and the system starts to feel hostile. Above 900 mm you've got a comfortable single-person aisle; 1,200 mm and you've got a walk-in wardrobe feel. If you're planning around a bed, the same 900 mm applies to the gap between the bed frame and the wardrobe front.
Vertical hanging space. Shirts, trousers, and mid-length jackets need roughly 100–110 cm of vertical clearance above the hang rail. Long garments — dresses, coats, formal wear — need 1,880 mm or you'll see hems dragging on lower shelves or the floor. If your ceiling is under 240 cm and your wardrobe runs floor-to-ceiling, the top 30–40 cm becomes dead storage unless you install a pull-down rail. We tell every customer the same thing: measure your longest garment before you measure your rail.
Depth. Standard closed wardrobes run 60 cm deep. Open wardrobes can run shallower — common depths sit between 45 cm and 58 cm, and the IKEA NORDKISA open wardrobe at 47 cm is the most common shallow reference we see in residential projects. The trade-off is hang direction: a 45 cm depth works fine for shirts hung parallel to the wall, but if you want to hang clothes perpendicular on a pull-out rail, you need closer to 60 cm. Shoes live happily on a 300 mm shelf, which is why shoe-specific inserts are almost always 30 cm deep regardless of system.
One more spatial detail that catches people off guard: corner zones. A freestanding rack pushed into a corner loses access to the back third of its hang space — you'll never reach that jacket buried against the wall. Wall-mounted systems handle corners better if you plan a return rail, but only if the corner wall can accept a mount. Telescopic units don't do corners at all; they need two parallel, unobstructed surfaces. Map the corners before you commit to a system, because retrofitting a corner solution after the fact is the most expensive mistake in open wardrobe planning.
Keeping an open wardrobe clean: the maintenance plan
Open wardrobes trade the door for visibility, and visibility means dust. Anyone who tells you an open wardrobe is maintenance-free is selling you something — the system is honest about what it is, and what it is, is a 24/7 display. The good news is that the maintenance plan is short and easy to stick to.
- Weekly, by zone. Pick one zone per week — hanging tops, folded knits, shoes, accessories — and give it a five-minute pass with a microfiber cloth or a lint roller. Rotate the zones so the whole wardrobe gets attention once a month. We've watched clients abandon daily "full closet clean" plans within ten days. A weekly zone pass is the one that survives.
- Storage containers that close. Open shelves still need closed boxes. Fabric bins, lidded baskets, and felt-covered boxes are your dust barrier for anything folded. Translucent is fine if you want visibility; opaque is fine if you want calm. The point is that anything not on a hanger should have a lid.
- Rotation for infrequent pieces. The wedding dress, the winter parka you wear twice a year, the suit that's only for one client meeting — these belong in a garment bag or under a dedicated dust cover. Hanging them in the open wardrobe full-time is the fastest way to make them the dustiest pieces you own.
- Air and light. A small air purifier near the wardrobe reduces airborne dust, and indirect daylight from a window helps you see what you actually own. Direct sun fades fabrics and ages leather, so position the wardrobe out of the beam if you can.
- Curtains as a soft door. If the visual exposure bothers you — and for some clients it does, especially in studio apartments — a ceiling-mounted curtain track in front of the open wardrobe gives you a "door" you can pull closed at night and open in the morning. It's the cheapest way to keep the planogram logic of an open wardrobe without the 24/7 visibility.
The closing call: pick the system, then plan the floor
The fastest mistake we see is choosing the system first and planning the floor second. Reverse it. Walk the bedroom with a tape measure, mark the 900 mm walkway, check the ceiling height, find the studs if the wall is drywall, and count the long garments in your closet. Confirm that the ceiling between 200 cm and 295 cm is clear of obstructions if you're considering a telescopic system, and budget for a stud finder and toggle bolts before you spend a cent on the rail itself if the wall is plasterboard.
A freestanding rack that fits your 9-square-meter bedroom and rolls out of the way on cleaning day will outperform a modular system that eats half the floor and never gets used. A wall-mounted rail on masonry will outperform a telescopic system with a 270 cm ceiling every time. The system is the easy decision. The floor is the one that converts.