Mannequin styling layouts: a roadmap to cohesive displays
Clothing presented on a mannequin is reported to sell approximately 70% better than the same clothing displayed only on a rack. The figure is not a guarantee and does not isolate rack-and-mannequin integration as a variable.
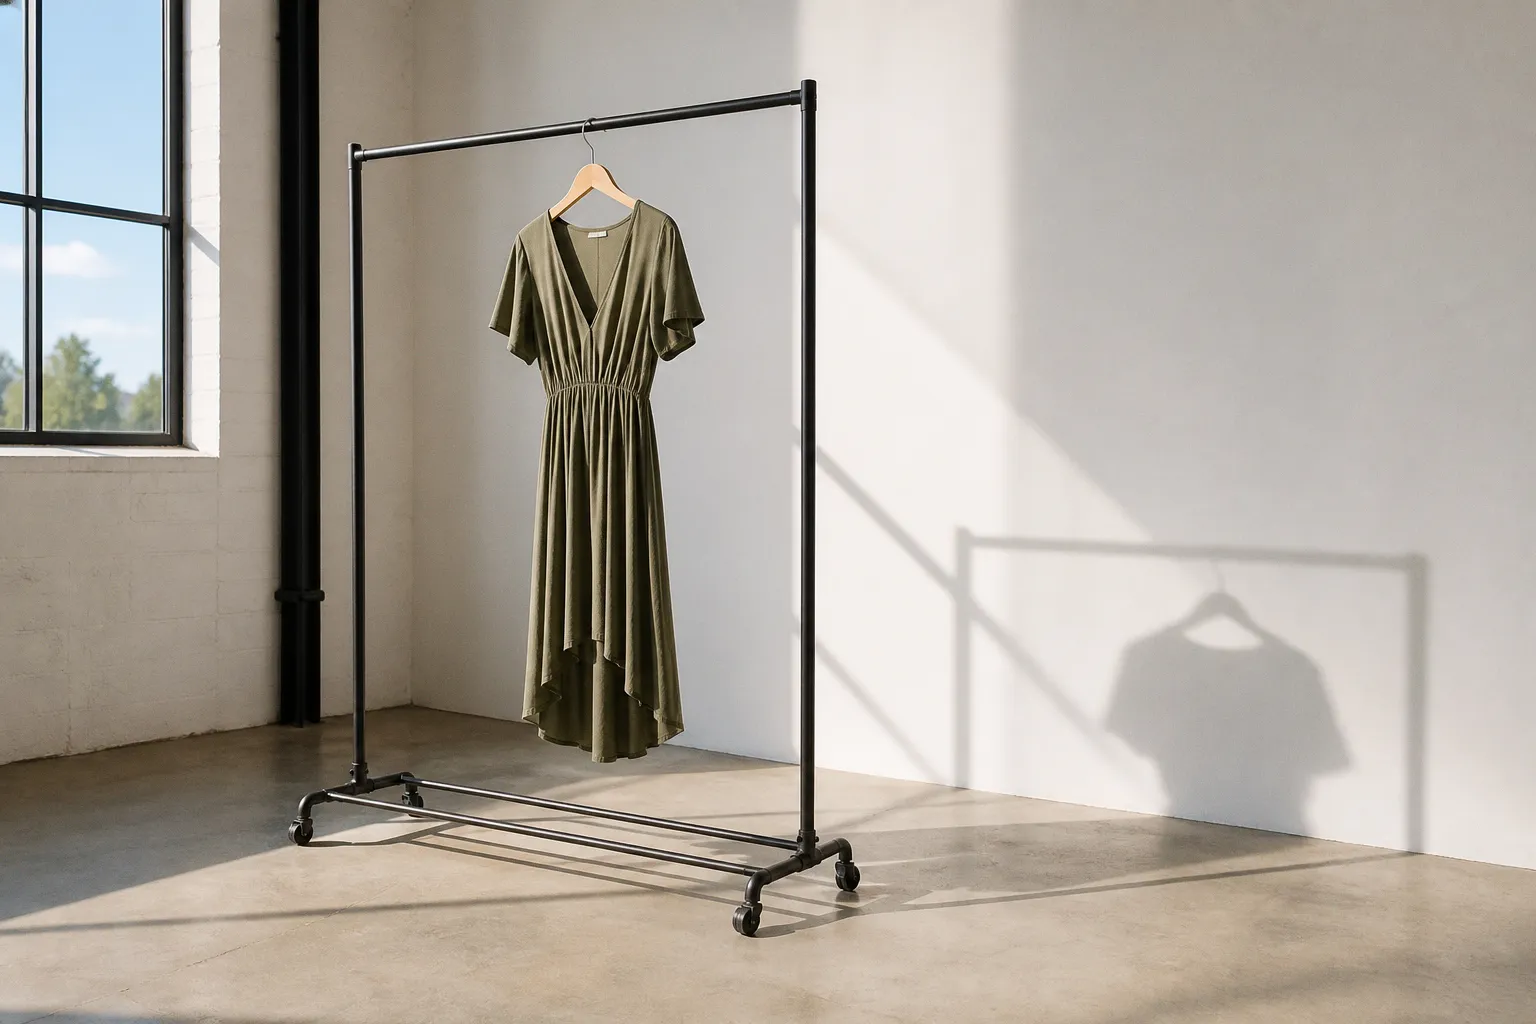
It does identify the commercial function of the mannequin: it converts separate garments into a visible use case.
The rack then carries the second half of the system. It must hold the styled garments, preserve access to sizes, maintain spacing, and remain stable under repeated customer handling. Retail mannequin styling and clothing rack integration therefore has two simultaneous requirements. The display must communicate an outfit within several seconds. The fixture must survive loading, unloading, impact, and daily repositioning without losing alignment.
This is not a decorative arrangement. It is a controlled transfer from visual stimulus to accessible inventory.
The psychology of lifestyle displays: why mannequins drive conversion
A hanging garment presents material, color, and silhouette. A mannequin adds proportion, layering, and context. It shows the customer how multiple units occupy the body at the same time. That reduces the amount of interpretation required at the rack.
A study referenced by the International Journal of Academic Engineering and Management found that 73% of respondents use mannequins to envision a new sense of lifestyle. The commercial value is direct. A customer does not need to infer whether a jacket works over a shirt, whether a skirt requires a different top, or whether an accessory belongs to the same collection. The mannequin supplies the relationship.
This is why mannequin and rack coordination must be planned as one display rather than as two adjacent furniture pieces. A mannequin positioned several metres from the corresponding stock creates a search problem. The customer sees the outfit but must identify each component elsewhere in the store. The visual message has been separated from the inventory path.
The rack should contain the exact or near-exact garments shown on the mannequin:
- The same shirt, jacket, trousers, or dress should be available within immediate reach.
- Sizes should be arranged in a predictable sequence rather than mixed by color alone.
- Accessories used on the mannequin should be located on the same fixture or on a clearly connected secondary fixture.
- The displayed size should not be the only accessible unit if removing it would damage the composition.
- The rack should not contain unrelated clearance merchandise that interrupts the outfit logic.
This arrangement creates a short conversion path:
1. The mannequin establishes the complete outfit.
2. The customer identifies one or more individual garments.
3. The adjacent rack provides tactile access.
4. The size run allows the customer to proceed without searching.
5. The purchase decision remains connected to the original visual reference.
The mannequin creates demand through context. The rack captures it through proximity.
The display must also control density. A feature rack carrying every available color and size becomes a storage device. A feature rack carrying only one garment becomes an incomplete proposition. A curated selection of 8 to 12 pieces usually gives the outfit enough inventory presence without destroying the focal hierarchy.
The correct quantity depends on the rack length, hanger profile, garment thickness, and category. Twelve lightweight shirts occupy less physical volume than twelve padded outerwear pieces. Counting units without measuring occupied width is not a valid capacity calculation.
Strategic placement: mapping focal points and traffic flow
The first display zone determines whether the customer receives a product signal or encounters an obstruction. Focal displays are commonly positioned within the first 10 to 15 feet of the entrance and slightly to the right of the entry path, where natural traffic patterns often produce the first sustained visual contact.
The position is a starting range, not a universal rule. Store width, entry orientation, queueing, security equipment, window glare, and accessible circulation can change the usable zone. A display placed directly in front of the entrance can block the field of view and create a physical pinch point. A display placed too far inside may lose the customer before the outfit is registered.
The first task is to map the customer path around fixed constraints:
- Entrance doors and door swing arcs.
- Queue barriers, cash desks, and security pedestals.
- Structural columns and low ceiling zones.
- Accessible routes and required turning areas.
- Fitting-room approaches.
- Sightlines from the street and from the entrance.
- Areas where customers naturally pause rather than pass through.
A focal mannequin should be visible from the entry without occupying the entry. The rack should sit within the same visual field but outside the primary movement line. This allows the display to function as a marker while keeping the customer path open.
Feature displays require approximately 4 to 5 feet of clearance on all sides to preserve viewing angles and prevent congestion. That clearance is not only a visual merchandising parameter. It also changes the load environment of the fixture. When a rack is placed in a narrow aisle, customers contact its uprights, base, and end arms more frequently. Repeated lateral impact can loosen bolted joints and distort light-gauge components even when the vertical garment load remains within specification.
A stable floor plan therefore requires two separate measurements:
1. Visual clearance: the distance required to see the mannequin and access the rack without crowding.
2. Operational clearance: the distance required for customers, staff, carts, and replenishment movement to pass without striking the fixture.
The smaller of the two is not automatically sufficient. A rack may be visually unobstructed but operationally exposed to impact.
Focal hierarchy and the Rule of Three
The Rule of Three is used in visual merchandising to group mannequins or props in sets of three. The principle creates asymmetry without random placement. Three figures can establish height variation, direction, and a clear centre of attention.
The rule should not be applied mechanically. Three mannequins of identical height, identical stance, and identical garment volume form a repetitive barrier. A stronger arrangement uses controlled variation:
- One primary mannequin carries the highest-value or most complete outfit.
- A second mannequin introduces a different garment layer or body orientation.
- A third element may be a partial mannequin, prop, sign, or lower fixture.
- The group should maintain a common color or product story.
- The rack should reinforce the group rather than form a separate visual block.
The highest element should not obstruct signage or sightlines to the rear of the store. The lowest element should not become a trip hazard. Mannequin bases must remain stable under accidental contact. A narrow base with a tall torso and layered garments produces a higher overturning moment than a low, compact form.
For a structural engineer, the display equation is simple: the taller and more offset the mass, the greater the lateral stability requirement. A mannequin placed on a rack platform increases the effective centre of gravity of the combined fixture. The rack must be evaluated as a loaded assembly, not as an empty garment rail.
The art of proximity: bridging inspiration and inventory
The exact garments shown on the mannequin should be placed directly next to it or close enough that the association is immediate. “Close enough” is not measured by the distance between fixture edges. It is measured by whether a customer can move from the mannequin to the relevant size without losing the product reference.
A rack located behind the mannequin may be physically near but visually blocked. A rack located at a right angle may be accessible but disconnected from the customer’s initial line of sight. A low platform can support the mannequin while keeping the stock rail visible. A freestanding mannequin and a double-sided rack can also work, provided the rack does not create a second focal point with unrelated merchandise.
The relationship is strongest when the display follows a consistent sequence:
- Hero garment: the item receiving the highest visual emphasis.
- Supporting layer: the garment that explains how the hero item is worn.
- Completion item: trousers, skirt, shoes, belt, or accessory.
- Stock position: the corresponding units arranged on the rack in the same product family.
- Signage: concise information placed where it does not cover the clothing or compete with the mannequin.
The rack should not require customers to dismantle the mannequin display. If the only available medium size is the jacket worn by the mannequin, the customer must remove the jacket or abandon the search. That is a merchandising failure caused by insufficient stock planning, not by customer behavior.
Product presentation also depends on hanger spacing. The two-finger rule specifies a minimum gap of approximately two fingers between hangers. The rule creates negative space, prevents garments from compressing into a single mass, and permits browsing without excessive friction. It is a visual merchandising practice, not a statutory standard.
The physical spacing varies with garment thickness. A thin woven shirt can be placed closer than a quilted coat, but the two-finger reference remains useful for evaluating whether the rack reads as a curated display or an overloaded rail.
The following layout variables have direct operational consequences:
| Variable | Working range or rule | Failure when ignored |
|---|---|---|
| Focal display distance from entrance | 10–15 ft as a starting range | The display is missed or blocks entry sightlines |
| Clearance around feature display | 4–5 ft where the floor plan permits | Congestion, poor viewing angles, contact damage |
| Feature-rack quantity | 8–12 selected pieces | Either weak inventory presence or visual clutter |
| Hanger spacing | At least two fingers between hangers | Wrinkling, difficult browsing, compressed color mass |
| Shirts and blouses | 55–60 in hanging height | Poor visibility or excessive reach height |
| Dresses and gowns | 65–75 in hanging height | Hem contact, obstructed sightline, inaccessible stock |
| Outerwear | 60–70 in hanging height | Crowded lower zone or unstable upper loading |
| Full-length pants and skirts | 48–52 in hanging height | Excessive reach or interference with lower fixtures |
These figures describe display placement, not structural load limits. A rack rated for a specified uniform load can still fail as a merchandising system if the load is concentrated at one end, raised above the designed rail height, or combined with a top-heavy mannequin platform.
Garment height and centre of mass
Hanging height changes how the customer reads the garment and how the fixture receives force. A rail carrying long dresses at 75 inches places more material above shoulder level than a rail carrying shirts at 55 inches. If the rack is narrow or lightly weighted at the base, the elevated garment mass increases sensitivity to lateral movement.
The same principle applies to outerwear. Thick coats have higher mass per hanger and occupy more width. A rail that holds twenty shirts may physically accommodate only eight or ten coats before hanger contact becomes excessive. The load calculation must use garment mass and actual occupied length, not nominal hanger count.
Rack components should be assessed individually:
- The uprights resist vertical compression and lateral bending.
- The rail resists bending between supports and local deformation at end brackets.
- The base resists overturning and distributes contact forces into the floor.
- The welds or bolted connections transfer shear and moment between members.
- The platform carries the mannequin and any dynamic load from accidental contact.
- The finish controls corrosion initiation at exposed steel surfaces and cut edges.
This is where visual merchandising displays layout becomes a materials problem. A rack may be correctly positioned in the customer path but incorrectly loaded for its section profile.
Technical standards for premium rack presentation
The finish of a garment rack is a surface treatment. It is not a substitute for section strength, connection design, or base stability.
Retail fixtures are commonly manufactured from mild steel, stainless steel, aluminum, or composite materials with steel connection points. Each option has different behavior under load and in the store environment.
| Material or finish | Structural and chemical behavior | Suitable use |
|---|---|---|
| Zinc-plated steel | Steel substrate with a zinc coating that provides sacrificial corrosion protection; coating damage exposes the base metal | General indoor retail, dry stockrooms, moderate handling |
| Epoxy-polyester powder coat | Polymer coating with good abrasion and chemical resistance when properly cured; chips can expose steel | High-contact retail floors, branded color systems, frequent cleaning |
| Stainless steel | Higher corrosion resistance than coated carbon steel; alloy grade determines resistance and cost | Humid stores, food-adjacent environments, long service cycles |
| Aluminum | Low density and corrosion resistance; lower stiffness than steel at equivalent geometry | Lightweight mobile fixtures where impact loads are controlled |
| Chrome-plated steel | Hard reflective surface over a base metal; corrosion begins at scratches, joints, and exposed edges | Dry indoor displays with controlled handling |
Zinc-plated steel is not corrosion-proof. The coating protects exposed steel through a sacrificial mechanism, but deep scratches, cut edges, weld zones, and drilled holes remain vulnerable. In a humid environment, chloride contamination from cleaning products or de-icing residue can accelerate attack.
Epoxy-polyester coatings provide a more continuous barrier. Their performance depends on pretreatment, coating thickness, curing temperature, and impact resistance. A coating that appears intact may still fail at a weld toe or sharp edge where the film is thin. Rust on a rack is therefore not only a cosmetic defect. It signals a break in the corrosion-control system.
Weld quality affects both appearance and fatigue resistance. A rail bracket with incomplete fusion, undercut, or a sharp notch can become a stress concentrator. The static load may remain below the nominal rating while repeated hanger movement and customer contact produce fatigue damage. Bolted frames require the same level of inspection. Loose fasteners change the load path and allow racking, which increases stress at the remaining connections.
A garment rack is exposed to repeated low-energy events:
- Hangers are pulled sideways and released.
- Garments are removed from the centre of a loaded rail.
- Customers lean against an upright.
- Staff push or drag the fixture during replenishment.
- A mannequin is repositioned while still attached to a platform.
- A loaded rack is moved over uneven flooring.
These forces are usually larger in the lateral direction than the purely vertical weight suggests. The correct test is not simply whether the rail holds a static mass. The assembly must remain level, connected, and resistant to sway after repeated handling.
Load distribution and concentration
Uniformly distributed load is the condition most favourable to a rail. It spreads bending demand across the span. Concentrated loading at one point increases local bending and can pull a bracket out of alignment.
The common failure pattern is predictable:
1. The rack is loaded heavily at one end because customers remove garments from the centre.
2. The rail deflects or the end bracket rotates.
3. The connection loosens under repeated movement.
4. The upright begins to lean.
5. Customers apply additional lateral force during browsing.
6. The base or fastener system experiences an overturning event.
The rack should therefore be loaded symmetrically during replenishment. Heavier garments should not be placed exclusively on a single end arm. A mannequin platform should be centred over the strongest portion of the base frame, not attached to a decorative extension designed only for light signage.
The specified load rating must also be read correctly. A rating in lbs per linear foot is not interchangeable with a total rack rating. A rating for a uniformly distributed rail load does not automatically cover a point load, a cantilevered arm, or a mannequin platform. If the supplier does not distinguish these conditions, the fixture should be treated conservatively.
Optimizing footprints with integrated display fixtures
Integrated fixtures combine a hanging rail, mannequin platform, divider, and sometimes a lower shelf in one footprint. A representative compact unit measures 24 inches wide by 62 inches high by 24 inches deep and includes a built-in mannequin platform with a frosted acrylic divider.
The attraction is measurable floor efficiency. One fixture carries the visual reference and the immediate inventory. It reduces the distance between inspiration and stock and can establish a focal point in a narrow retail bay.
The compact footprint also creates constraints. At 24 inches wide, the rail cannot support the same quantity of thick garments as a longer double-sided rack. At 62 inches high, it may be appropriate for a torso mannequin and short garments but unsuitable for full-length dresses that require a 65–75 inch hanging range. The platform and divider consume usable volume. Nominal external dimensions do not equal garment capacity.
Before selecting an integrated display, assess five dimensions:
1. Useful rail length. Subtract end brackets, divider thickness, and clearance required for hangers.
2. Platform load. Confirm the permissible mannequin mass and the load case for accidental contact.
3. Base geometry. Measure the footprint and check whether the platform shifts the centre of gravity.
4. Connection design. Identify whether the rail is welded, bolted, or attached through a removable bracket.
5. Finish continuity. Inspect weld zones, cut edges, fastener holes, and contact points where acrylic or steel may trap moisture.
A frosted acrylic divider can separate product stories and prevent visual interference. It does not provide structural bracing unless the manufacturer designed it as a load-bearing panel. The divider should not be used as a handhold, shelf, or substitute for a rigid rear brace.
Integrated fixtures also require a replenishment procedure. Staff must be able to remove and replace garments without lifting the mannequin or reaching across its platform. A display that looks orderly but causes repeated collision during restocking will degrade faster than an open rack with the same nominal load.
The footprint must be evaluated against customer pathing. A 24-by-24-inch base may fit into a plan on paper, but the functional zone is larger once the mannequin silhouette, garment projection, and 4-to-5-foot viewing clearance are included. The occupied retail area is the fixture envelope plus the circulation envelope.
Placement by store condition
Different environments impose different demands on the same rack.
Small-format apparel store. Use a compact integrated fixture as a focal marker near the entry, but limit the stock to 8–12 selected pieces. Keep the rail visually open. The base must not project into the principal route.
High-volume fashion floor. Use integrated fixtures for collection stories and longer racks for size depth. Separate hero presentation from bulk inventory when the rack cannot carry the required size range without losing hanger spacing.
Humid or frequently cleaned environment. Prefer stainless steel or a properly pretreated epoxy-polyester finish. Inspect lower welds, feet, and floor-contact points. Water trapped beneath a base plate can initiate corrosion even when the upper frame remains intact.
Outerwear department. Reduce hanger count because coat mass and thickness increase rail demand. Use a lower centre of gravity and avoid tall, narrow platforms carrying layered mannequins.
Window-adjacent display. Control direct solar exposure and temperature cycling for acrylic components and polymer coatings. Keep the mannequin and rack close enough to function as one story, but avoid placing the fixture where glare eliminates garment contrast from the entrance.
Stockroom or replenishment zone. Prioritize connection durability and mobility. Casters must be rated for the fully loaded fixture, and wheel locks must resist both rolling and swivel movement. A lock that stops translation but allows excessive rotation does not create a stable merchandising base.
A forensic method for evaluating an existing display
Failures usually appear before the fixture collapses. The indicators are mechanical and visible.
Check the rail for permanent sag after unloading. Elastic deflection should disappear when the load is removed. A rail that remains bowed has yielded or its connection has shifted.
Check the uprights for out-of-plane movement. Leaning may originate at the base, a loose fastener, a deformed bracket, or an uneven floor. Do not correct a leaning rack by forcing the upright back into position while loaded. Remove the load, isolate the cause, and inspect the connection.
Check the coating at high-contact points. Scratches around end arms, base corners, and lower shelves expose the steel substrate. White corrosion products on zinc-plated steel indicate coating activity; red-brown corrosion indicates attack on the underlying ferrous metal.
Check the mannequin platform for rotation. Any movement between the platform and frame changes the load path. A mannequin that can shift under hand pressure should not remain on the fixture while the rack is open to customer contact.
Check the floor interface. Uneven feet, damaged casters, missing glides, and loose anchor points create instability independently of rack capacity.
A useful inspection record contains:
- Empty and loaded rail condition.
- Approximate garment type and quantity.
- Rail deflection before and after loading.
- Fastener condition and evidence of movement.
- Weld cracking, undercut, or corrosion.
- Base and platform stability.
- Clearance to adjacent fixtures.
- Replenishment route and customer contact points.
- Finish damage at steel-to-steel and steel-to-floor interfaces.
The purpose is not to produce a decorative audit. It is to identify where the physical system diverges from the intended load case.
A display is cohesive only when the visual path, the stock path, and the load path agree.
The rule-based recommendation
Use mannequins to establish product context, but do not treat the mannequin as the sale mechanism by itself. The adjacent rack must carry the exact garments, preserve size access, and maintain enough negative space for the customer to understand the grouping.
For layout, place the focal point within roughly 10 to 15 feet of the entrance when the store geometry permits. Position it slightly outside the main entry line. Preserve 4 to 5 feet around the feature zone where circulation allows. Use the Rule of Three for controlled grouping, not as a substitute for hierarchy.
For presentation, limit a feature rack to approximately 8–12 selected pieces. Apply the two-finger spacing rule. Set hanging heights by garment type: 55–60 inches for shirts and blouses, 65–75 inches for dresses and gowns, 60–70 inches for outerwear, and 48–52 inches for full-length pants and skirts.
For materials, select zinc-plated steel for dry indoor use with controlled handling, epoxy-polyester powder-coated steel where abrasion and cleaning are higher, stainless steel where humidity or contamination is persistent, and aluminum only where reduced mass does not compromise stiffness or impact resistance.
For structure, verify the load case rather than relying on total weight. Uniform rail loading, concentrated end loading, cantilevered arms, mobile casters, and mannequin platforms produce different stresses. Inspect welds, fasteners, base geometry, and coating damage. A visual merchandising display that fails mechanically has already failed commercially, regardless of its product story.
The definitive rule is narrow: lighter garments and dry environments permit compact integrated fixtures; heavier garments, taller displays, and high-contact traffic require a wider base, stronger connections, and lower centre of gravity. Select the layout for customer movement, then select the rack for the resulting load and exposure. Anything reversed creates a display that may communicate a product effectively but cannot maintain its physical integrity.